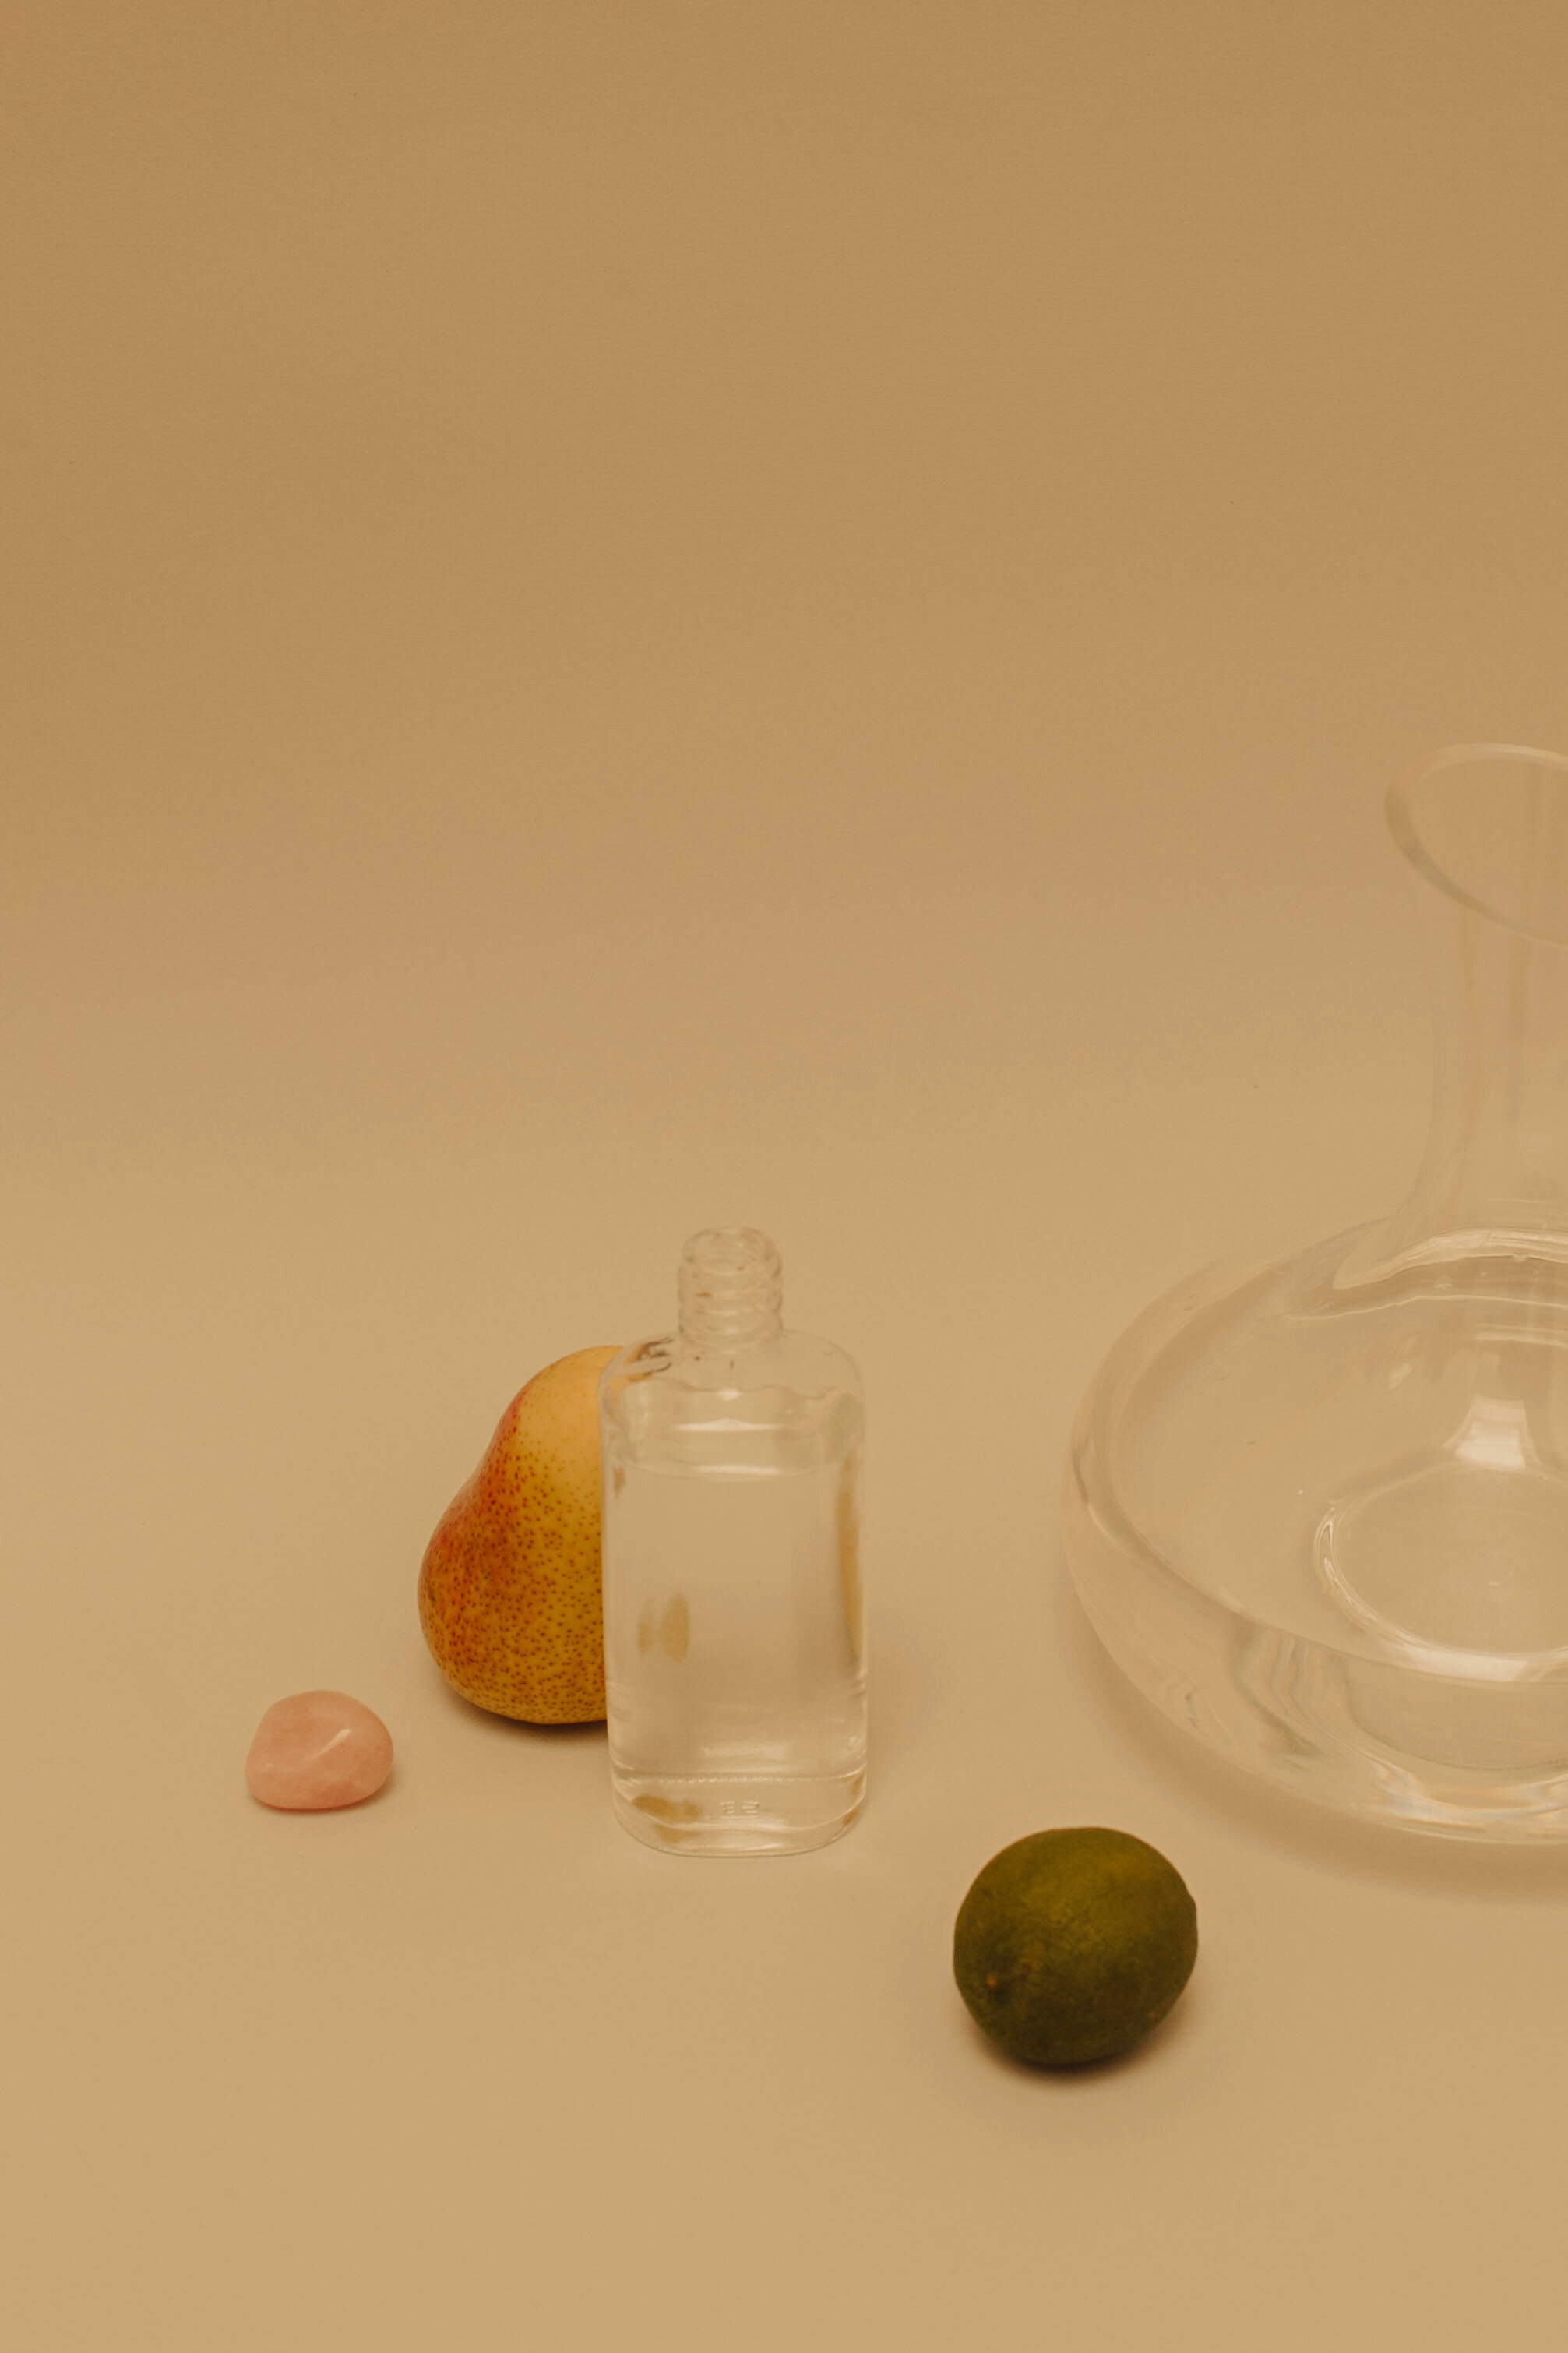
Hallo Leute! Yes, I'm learning german around here.
Well, I am really enjoying photographing different objects and how I can put together an interesting aesthetic, so I decided to share with you a bit of my lasts experiments. You are going to see in this post how I usually organize and create a set, which settings you can use when shooting with camera or mobile and some retouch tips to help you extract the best of one image. If you sell a product and needs to photograph it at home - why don't you try as well? It can be a super fun process.
What you need to assemble a set of photos and start shooting - with your camera or mobile
The first part of the process is to separate a place where you can assemble your composition. Then, make a turn around in your house and start picking everything that would be interesting in a scene. Use all your creativity. Begin to observe the objects and find some meaning from them.
Background: it can be two paper cards (or several, in different tones), fabrics, towels, sheets, rugs, etc. I even used a vinyl record cover to be my background once. So everything that has a "base" for you to insert the objects, separate. A white wall can also work. I usually create on top of a table.
Objects: think what type of object could match your background. Observe the colors: I usually use the contrast of complementary colors or everything in the same tone. More neutral objects for printed backgrounds. Think about the geometry of the objects and it is always good to have a bigger and a smaller one, so the set is balanced. Anything you find out there is worth. Suggestions: fruits, vegetables, glasses with water, flowers, crystals, lamps, in short - any object that has an interesting shape and color.
Lighting: You can shoot with natural light if you have a good light source, a large window or a balcony. If you don't, maybe invest in an artificial continuous light or maybe a LED, it's easier than using a studio flash or a TTL flash, which also work. If you don't have none of these, try to use natural light + a reflector if needed or the strongest lamp you have + a light diffuser. It's always good to use a diffuser when you prefer a softer light. You can search on the internet how to make a reflector and a diffuser using lots of different objects - if you don't want to invest in a professional one.
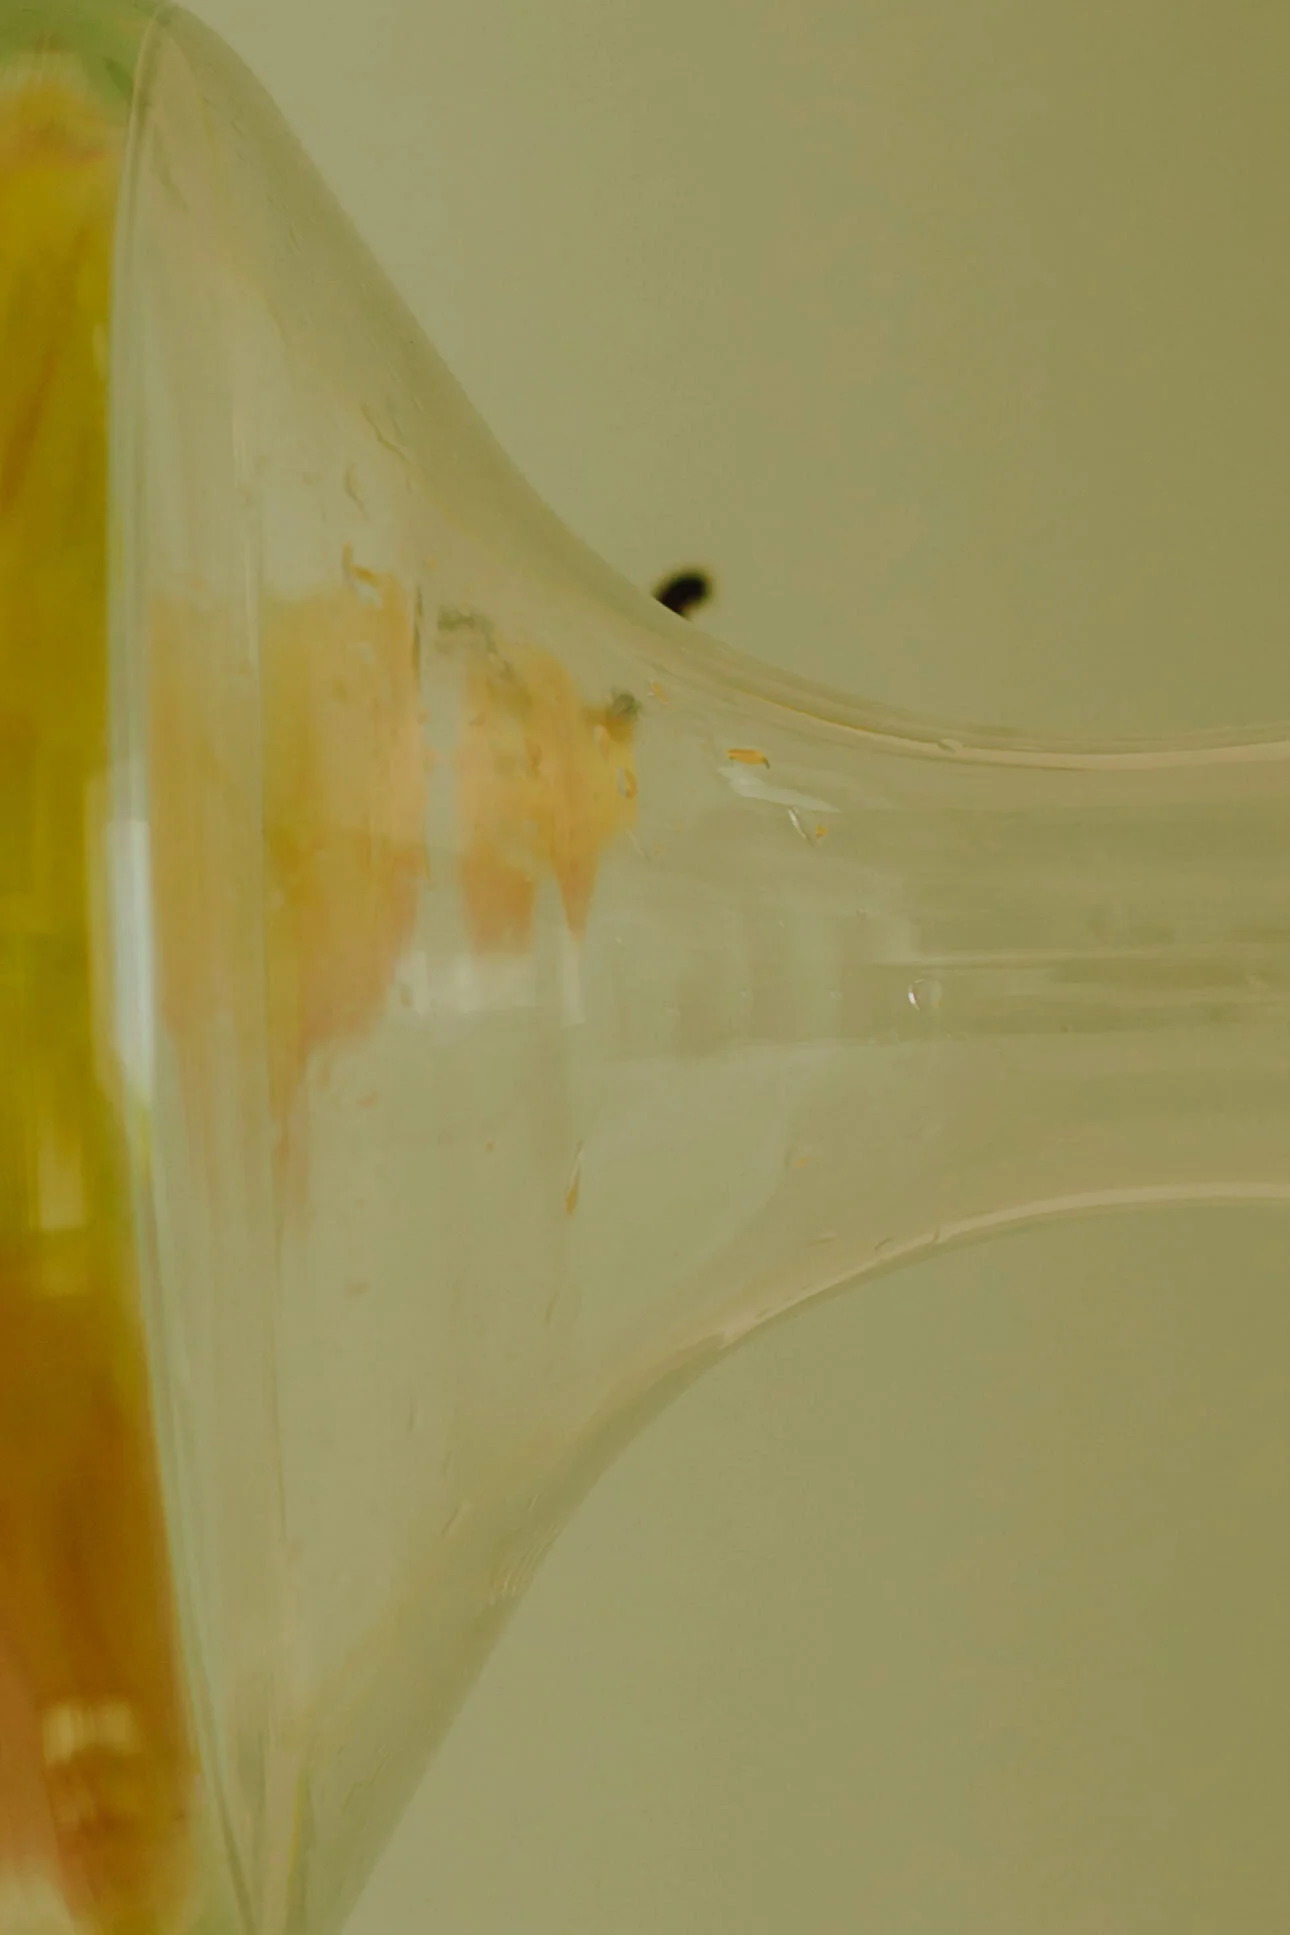
Composition: that part is test time. I separate some objects that match each other (colors, different sizes) and then I play with their composition. Literally, it's all around my set - and I keep adding or removing them, until I find something I like visually. You can also put some objects in front of your lens and see the effect that it does in your frame. You can use a prism, some plants, flower, anything you want. Example:
I did that orange effect by putting an orange in front of my lens.
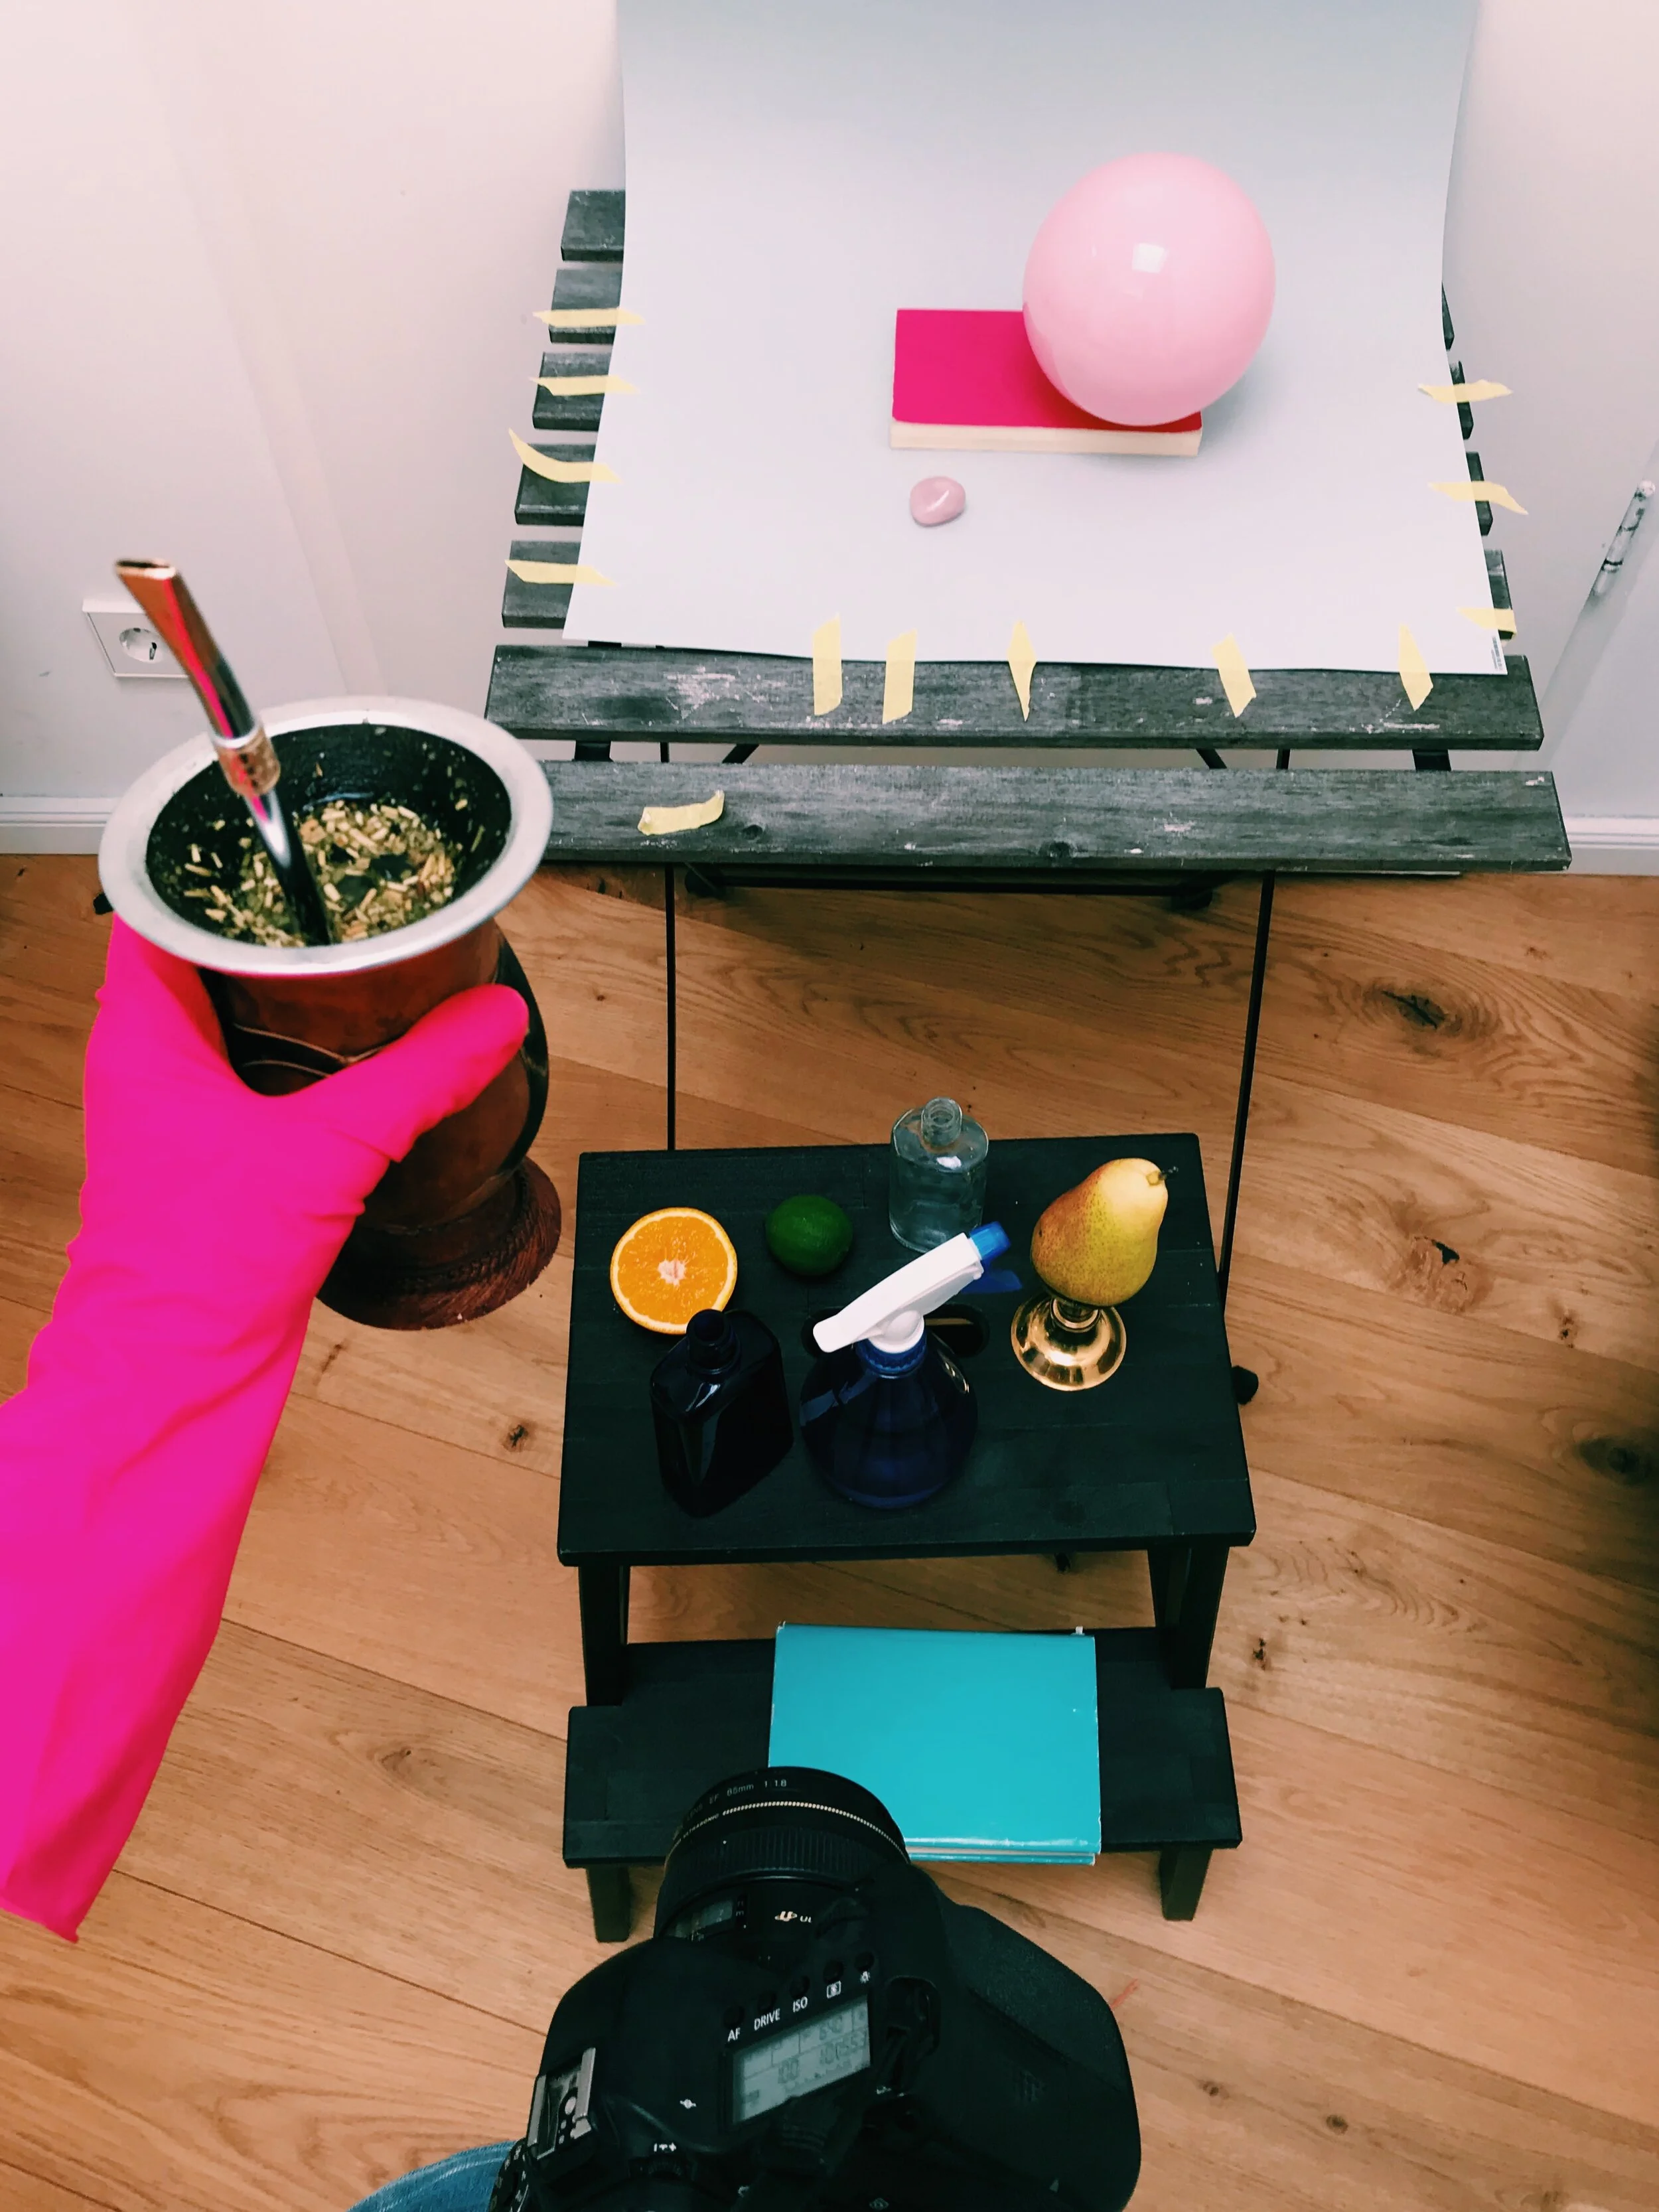
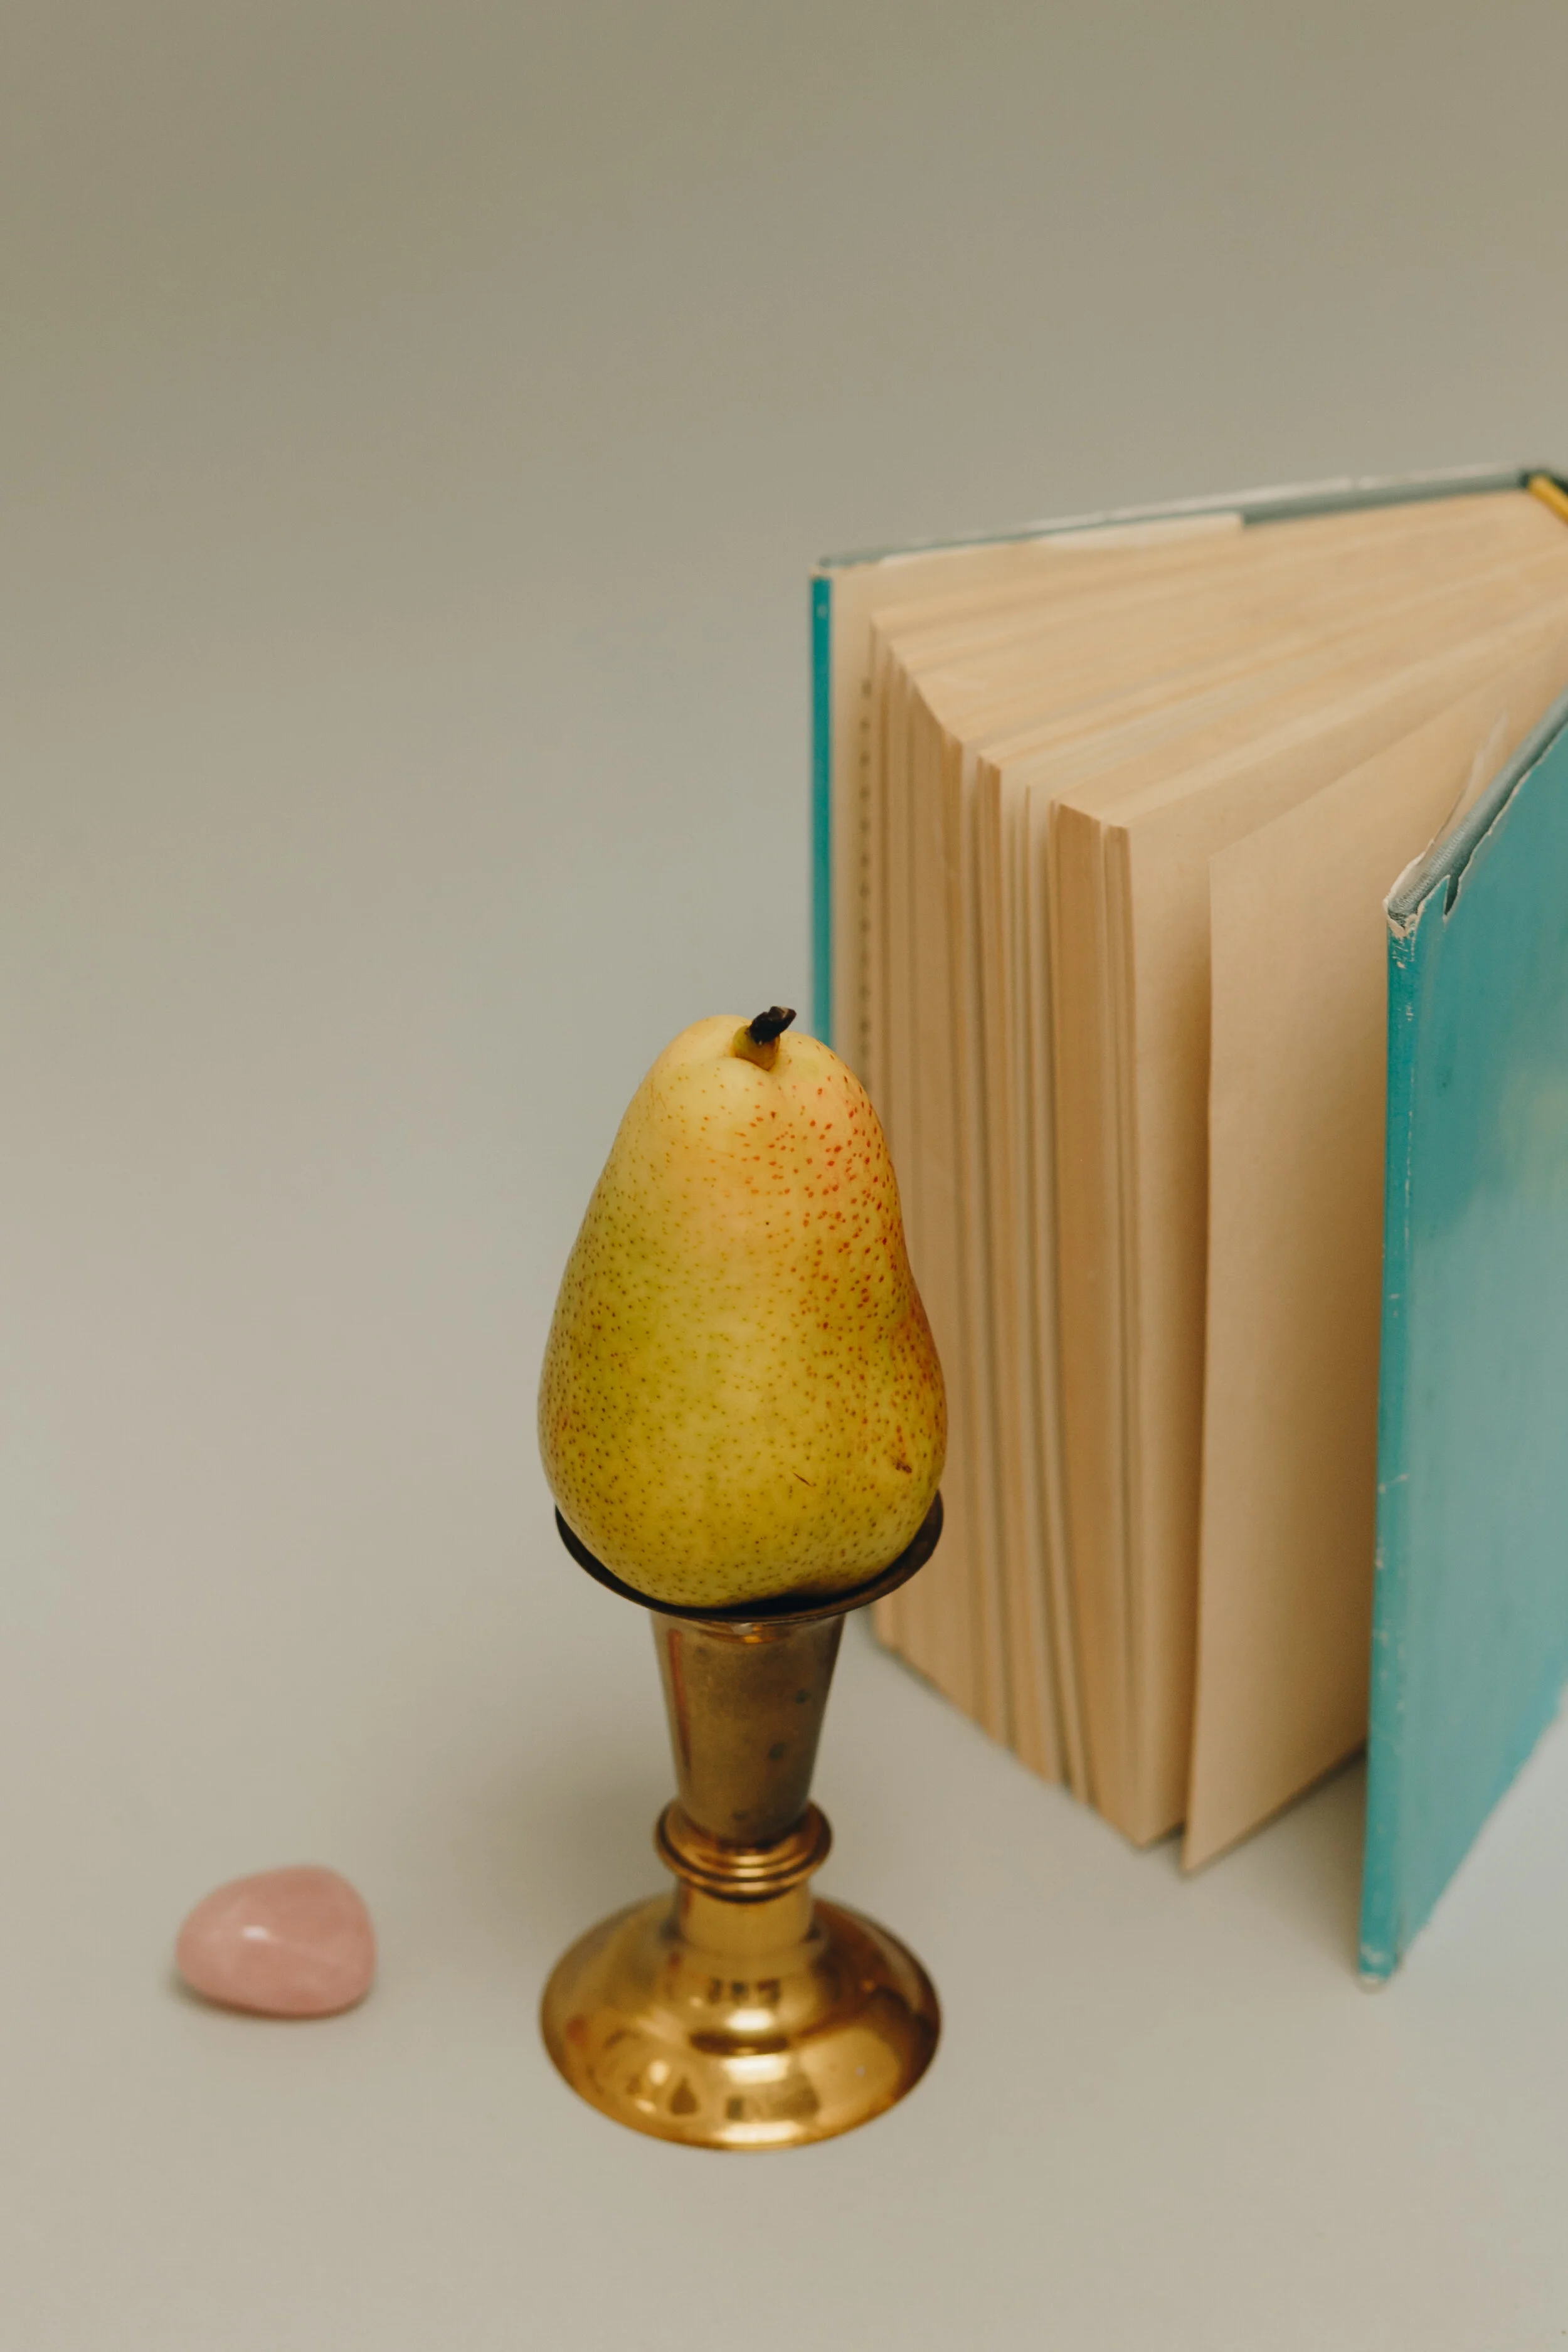
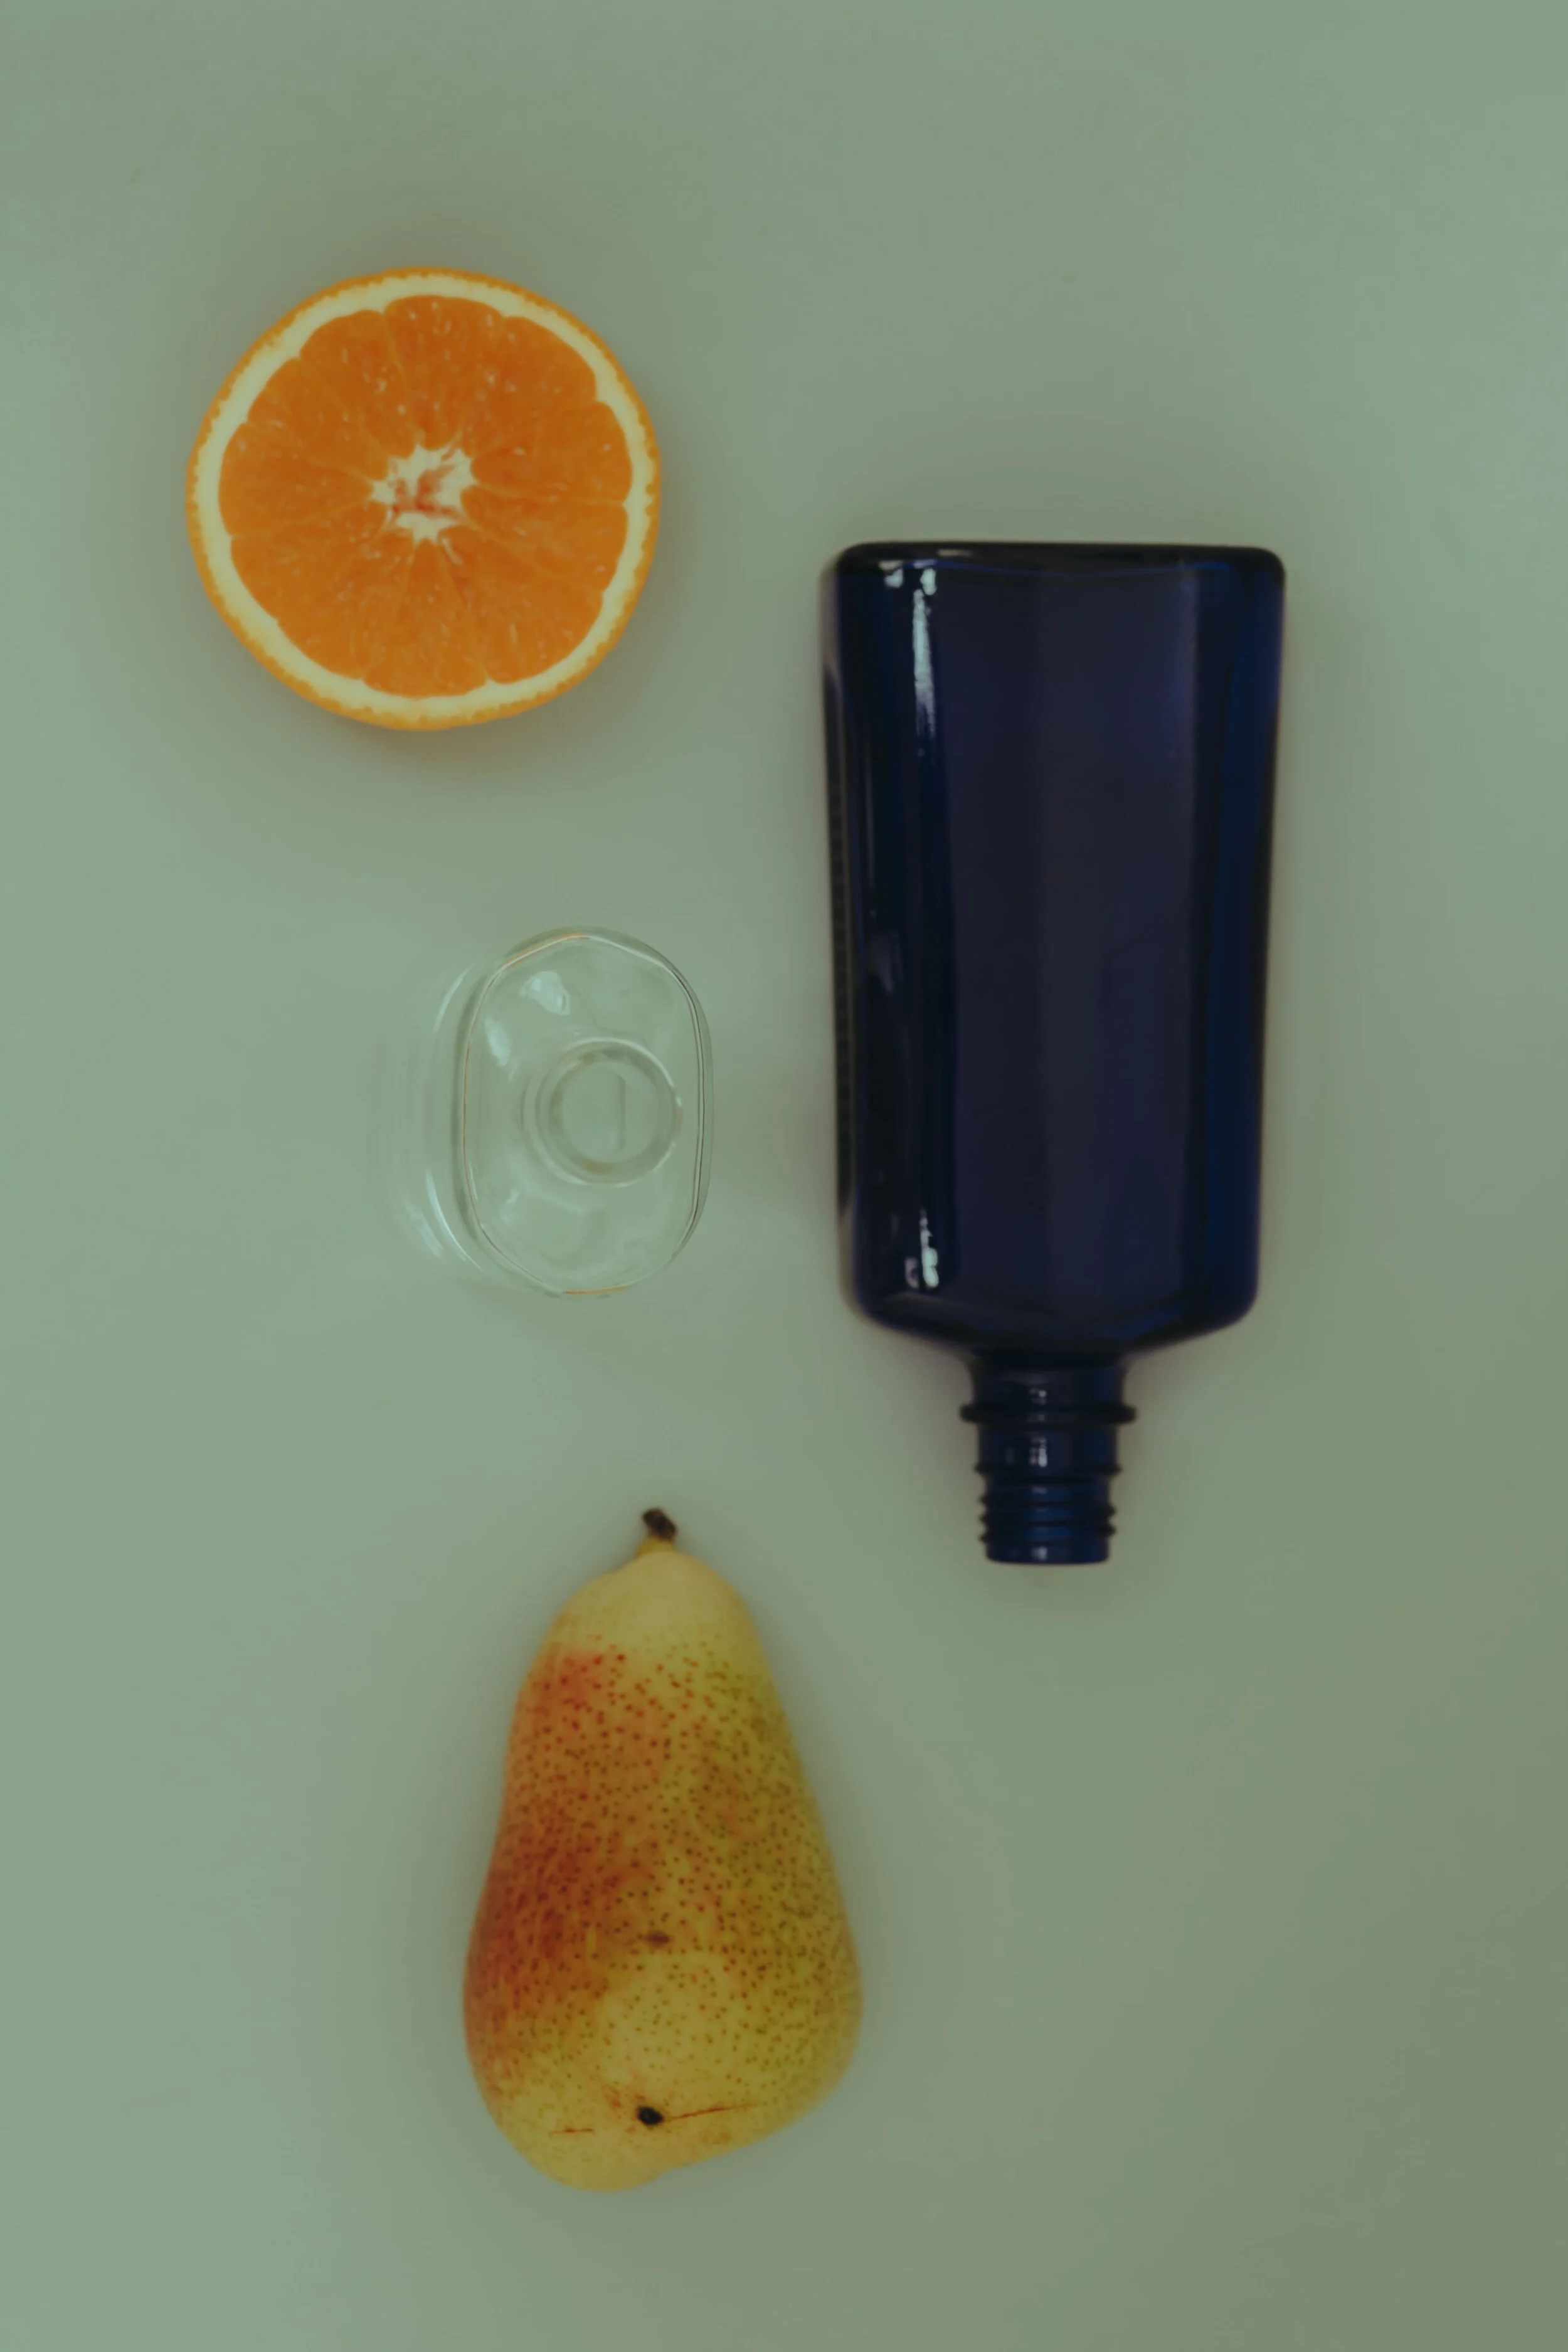
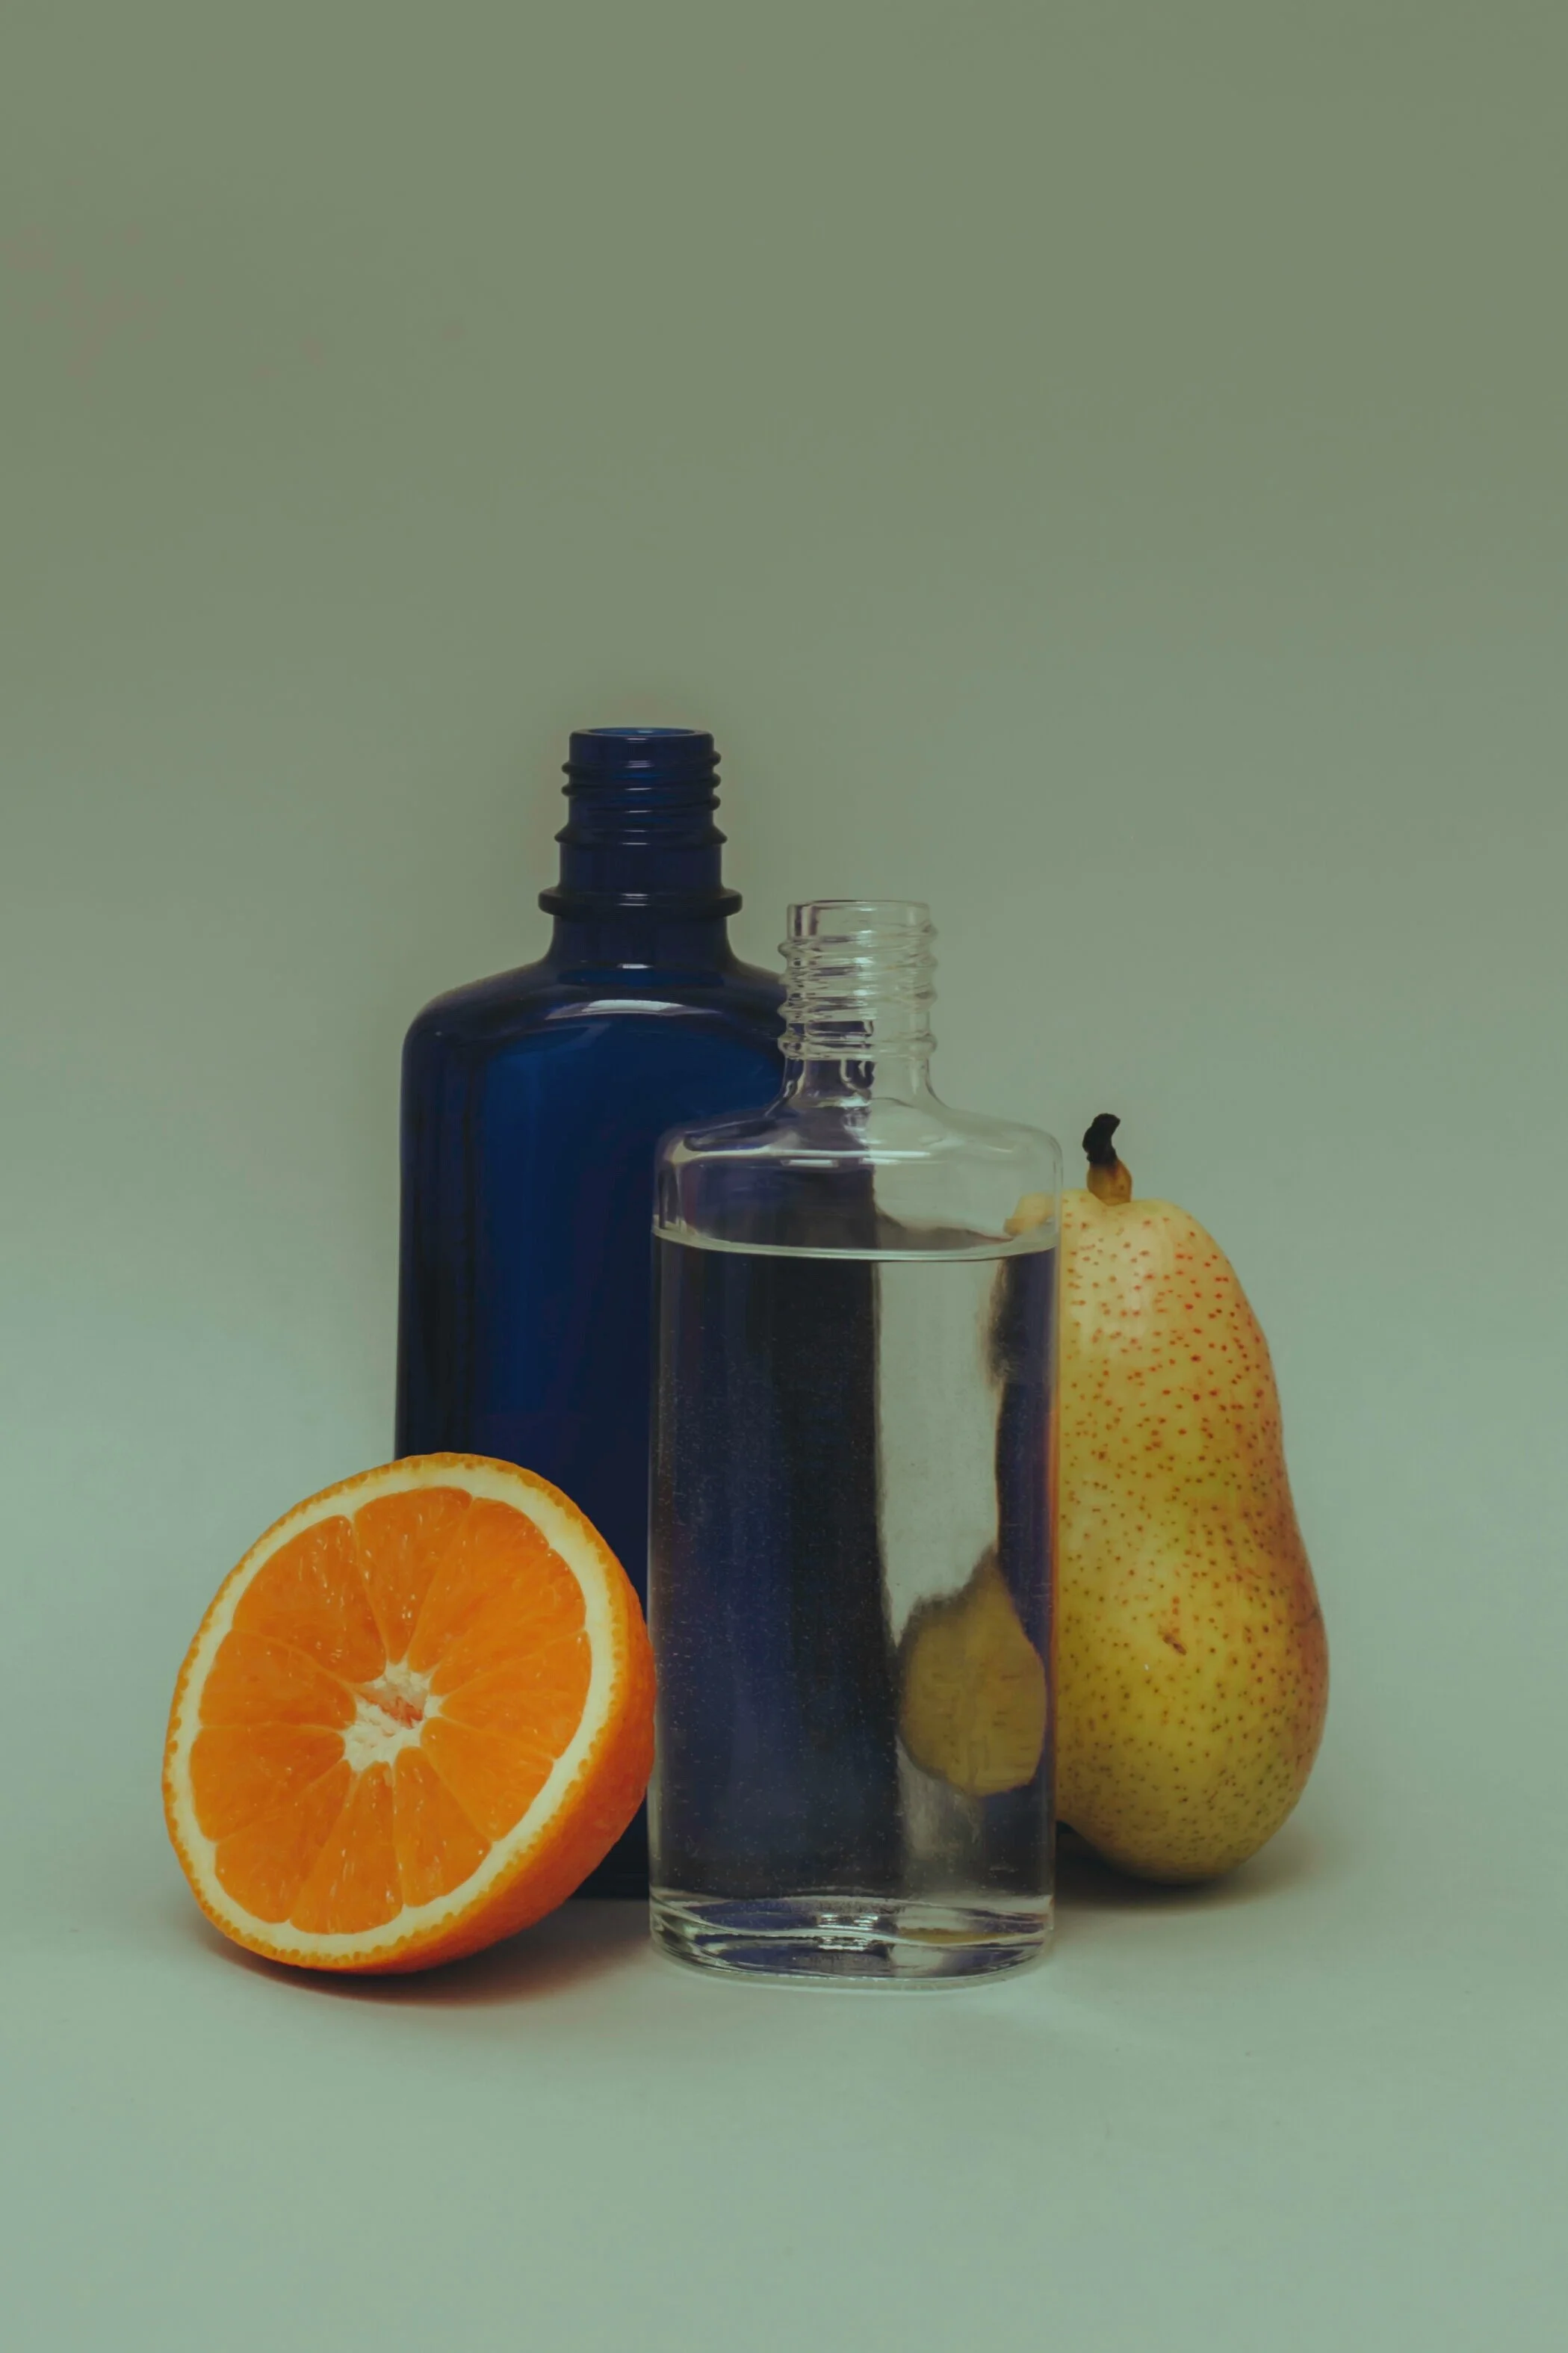
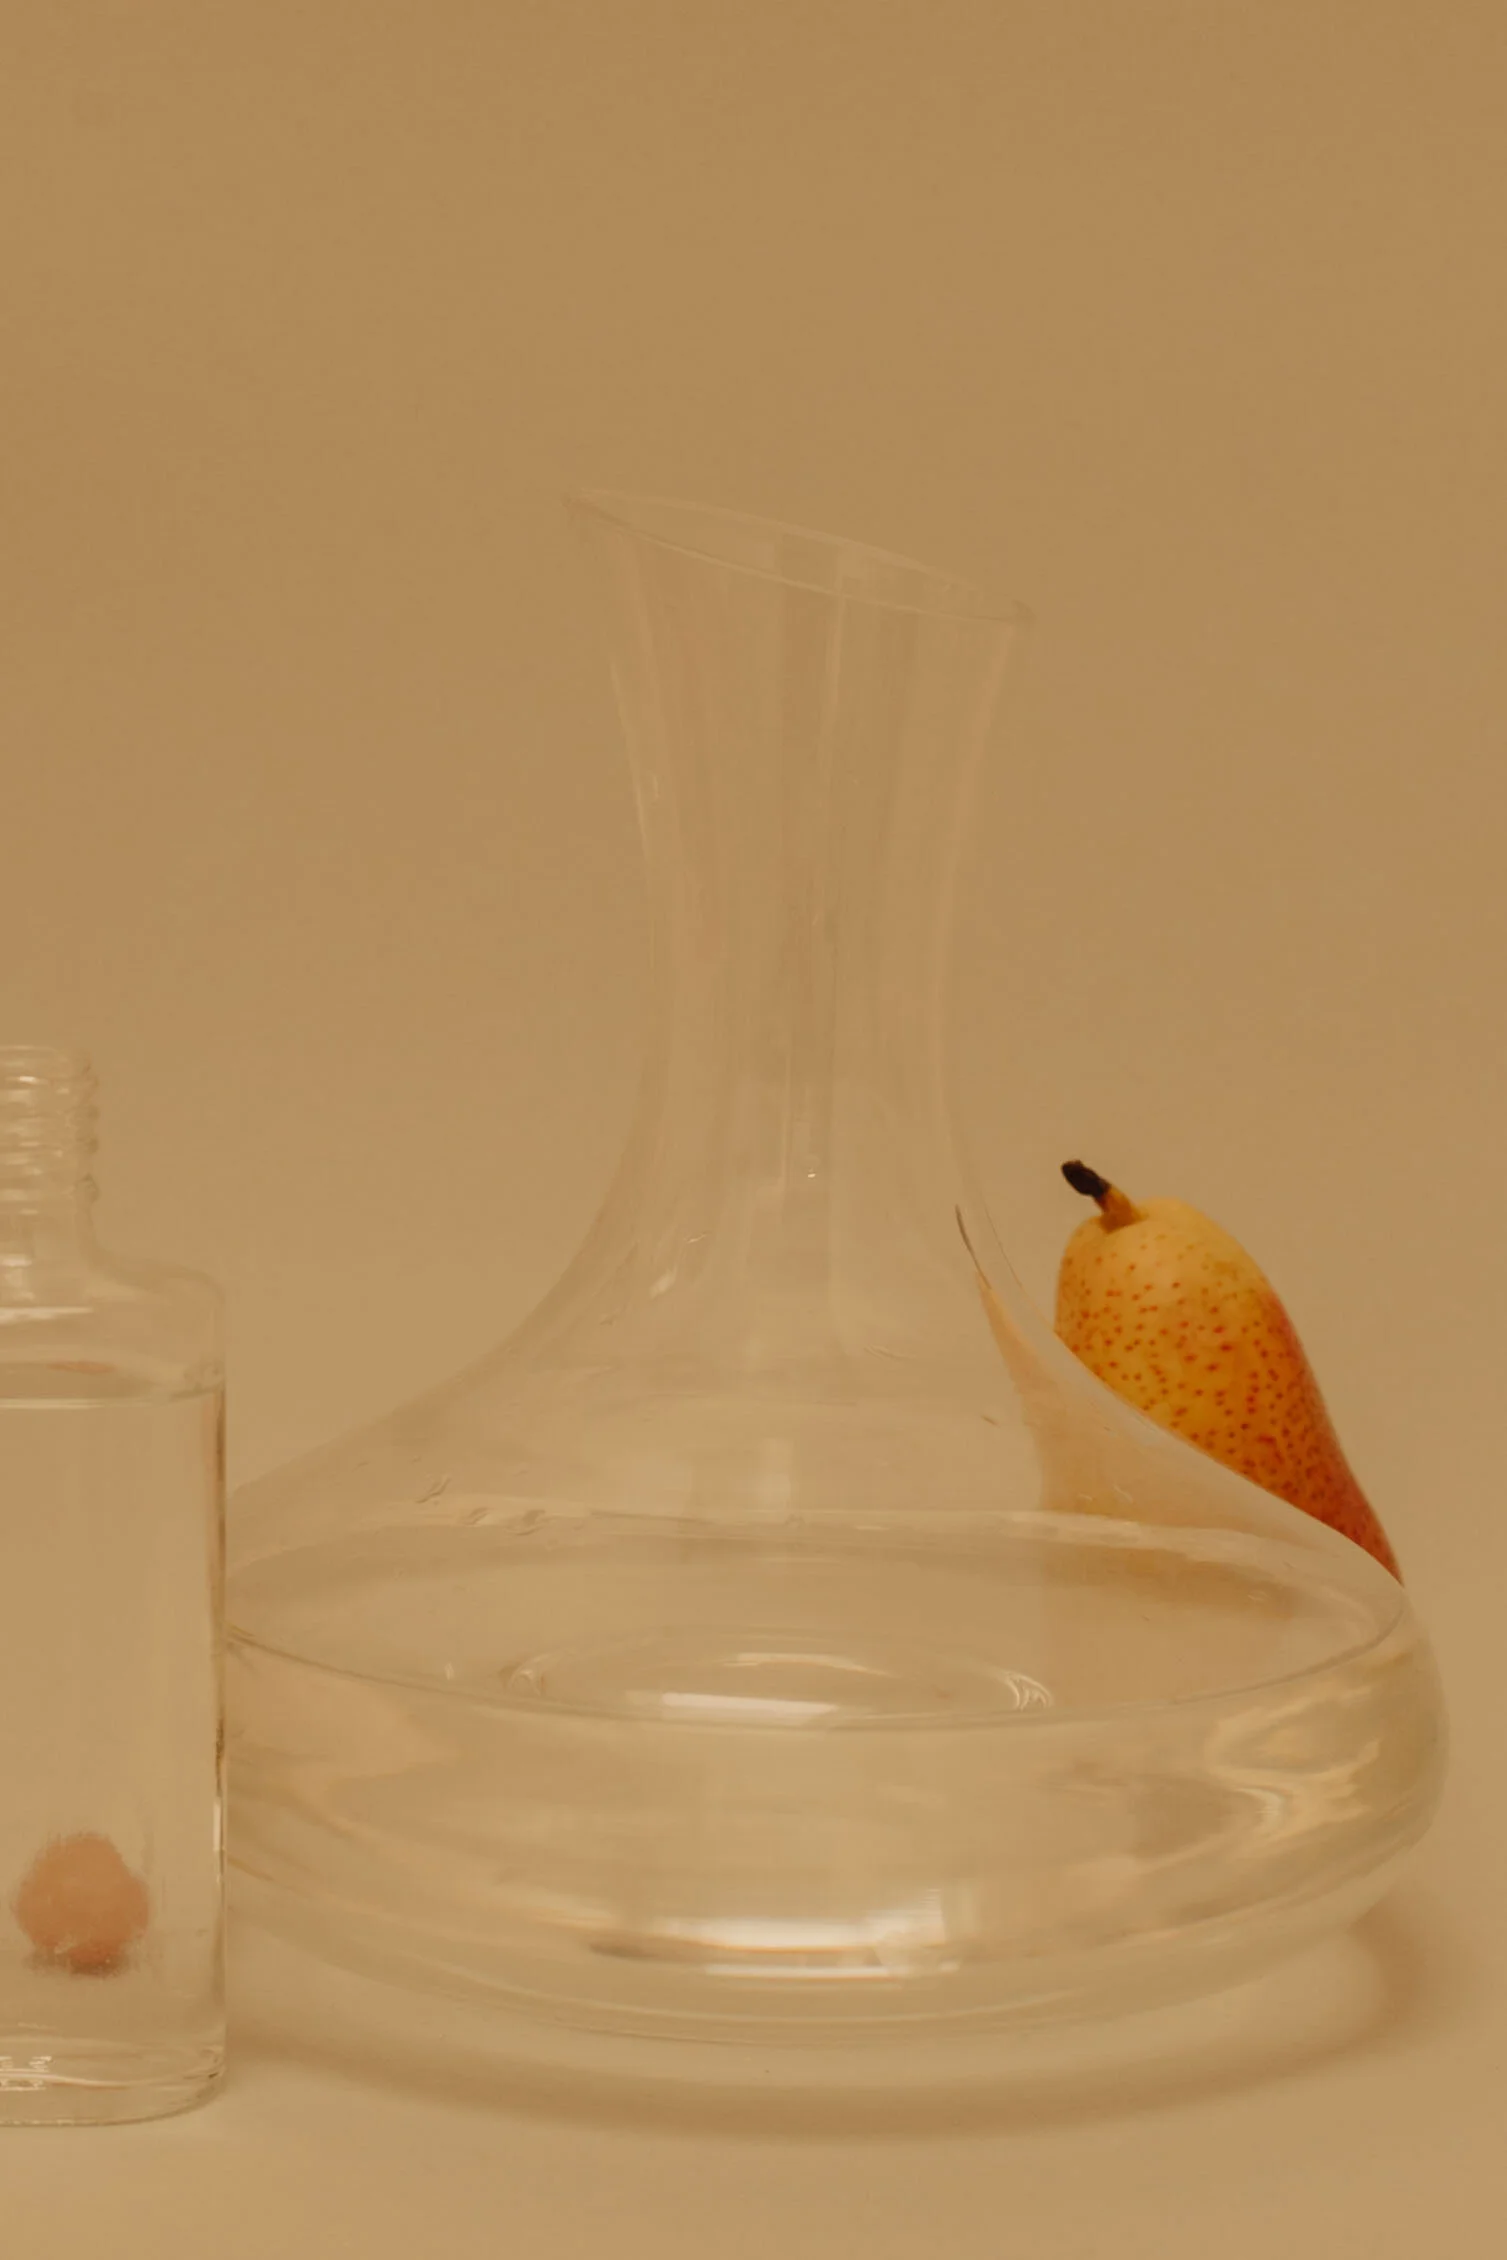
Take a look on this pink glove I am wearing… could you guess in which pictures it appears? About the objects I used: an orange, a lemon, a pear, a pink cleaning glove, water bottles, a blue bottle, candle holder, my quartz crystal, a book with a pink cover and another blue one, my lamp (that pink ball). I used a neutral grey background, this time with a single card - using two is better, one on top and one on the bottom - it will give you more space to compose. Obs: I'm addicted to “Terere" - that's what's in my hand - it is a typical south american drink made with herbal tea and iced water. Perfect for hot days. I took this picture because the scene was more random impossible.
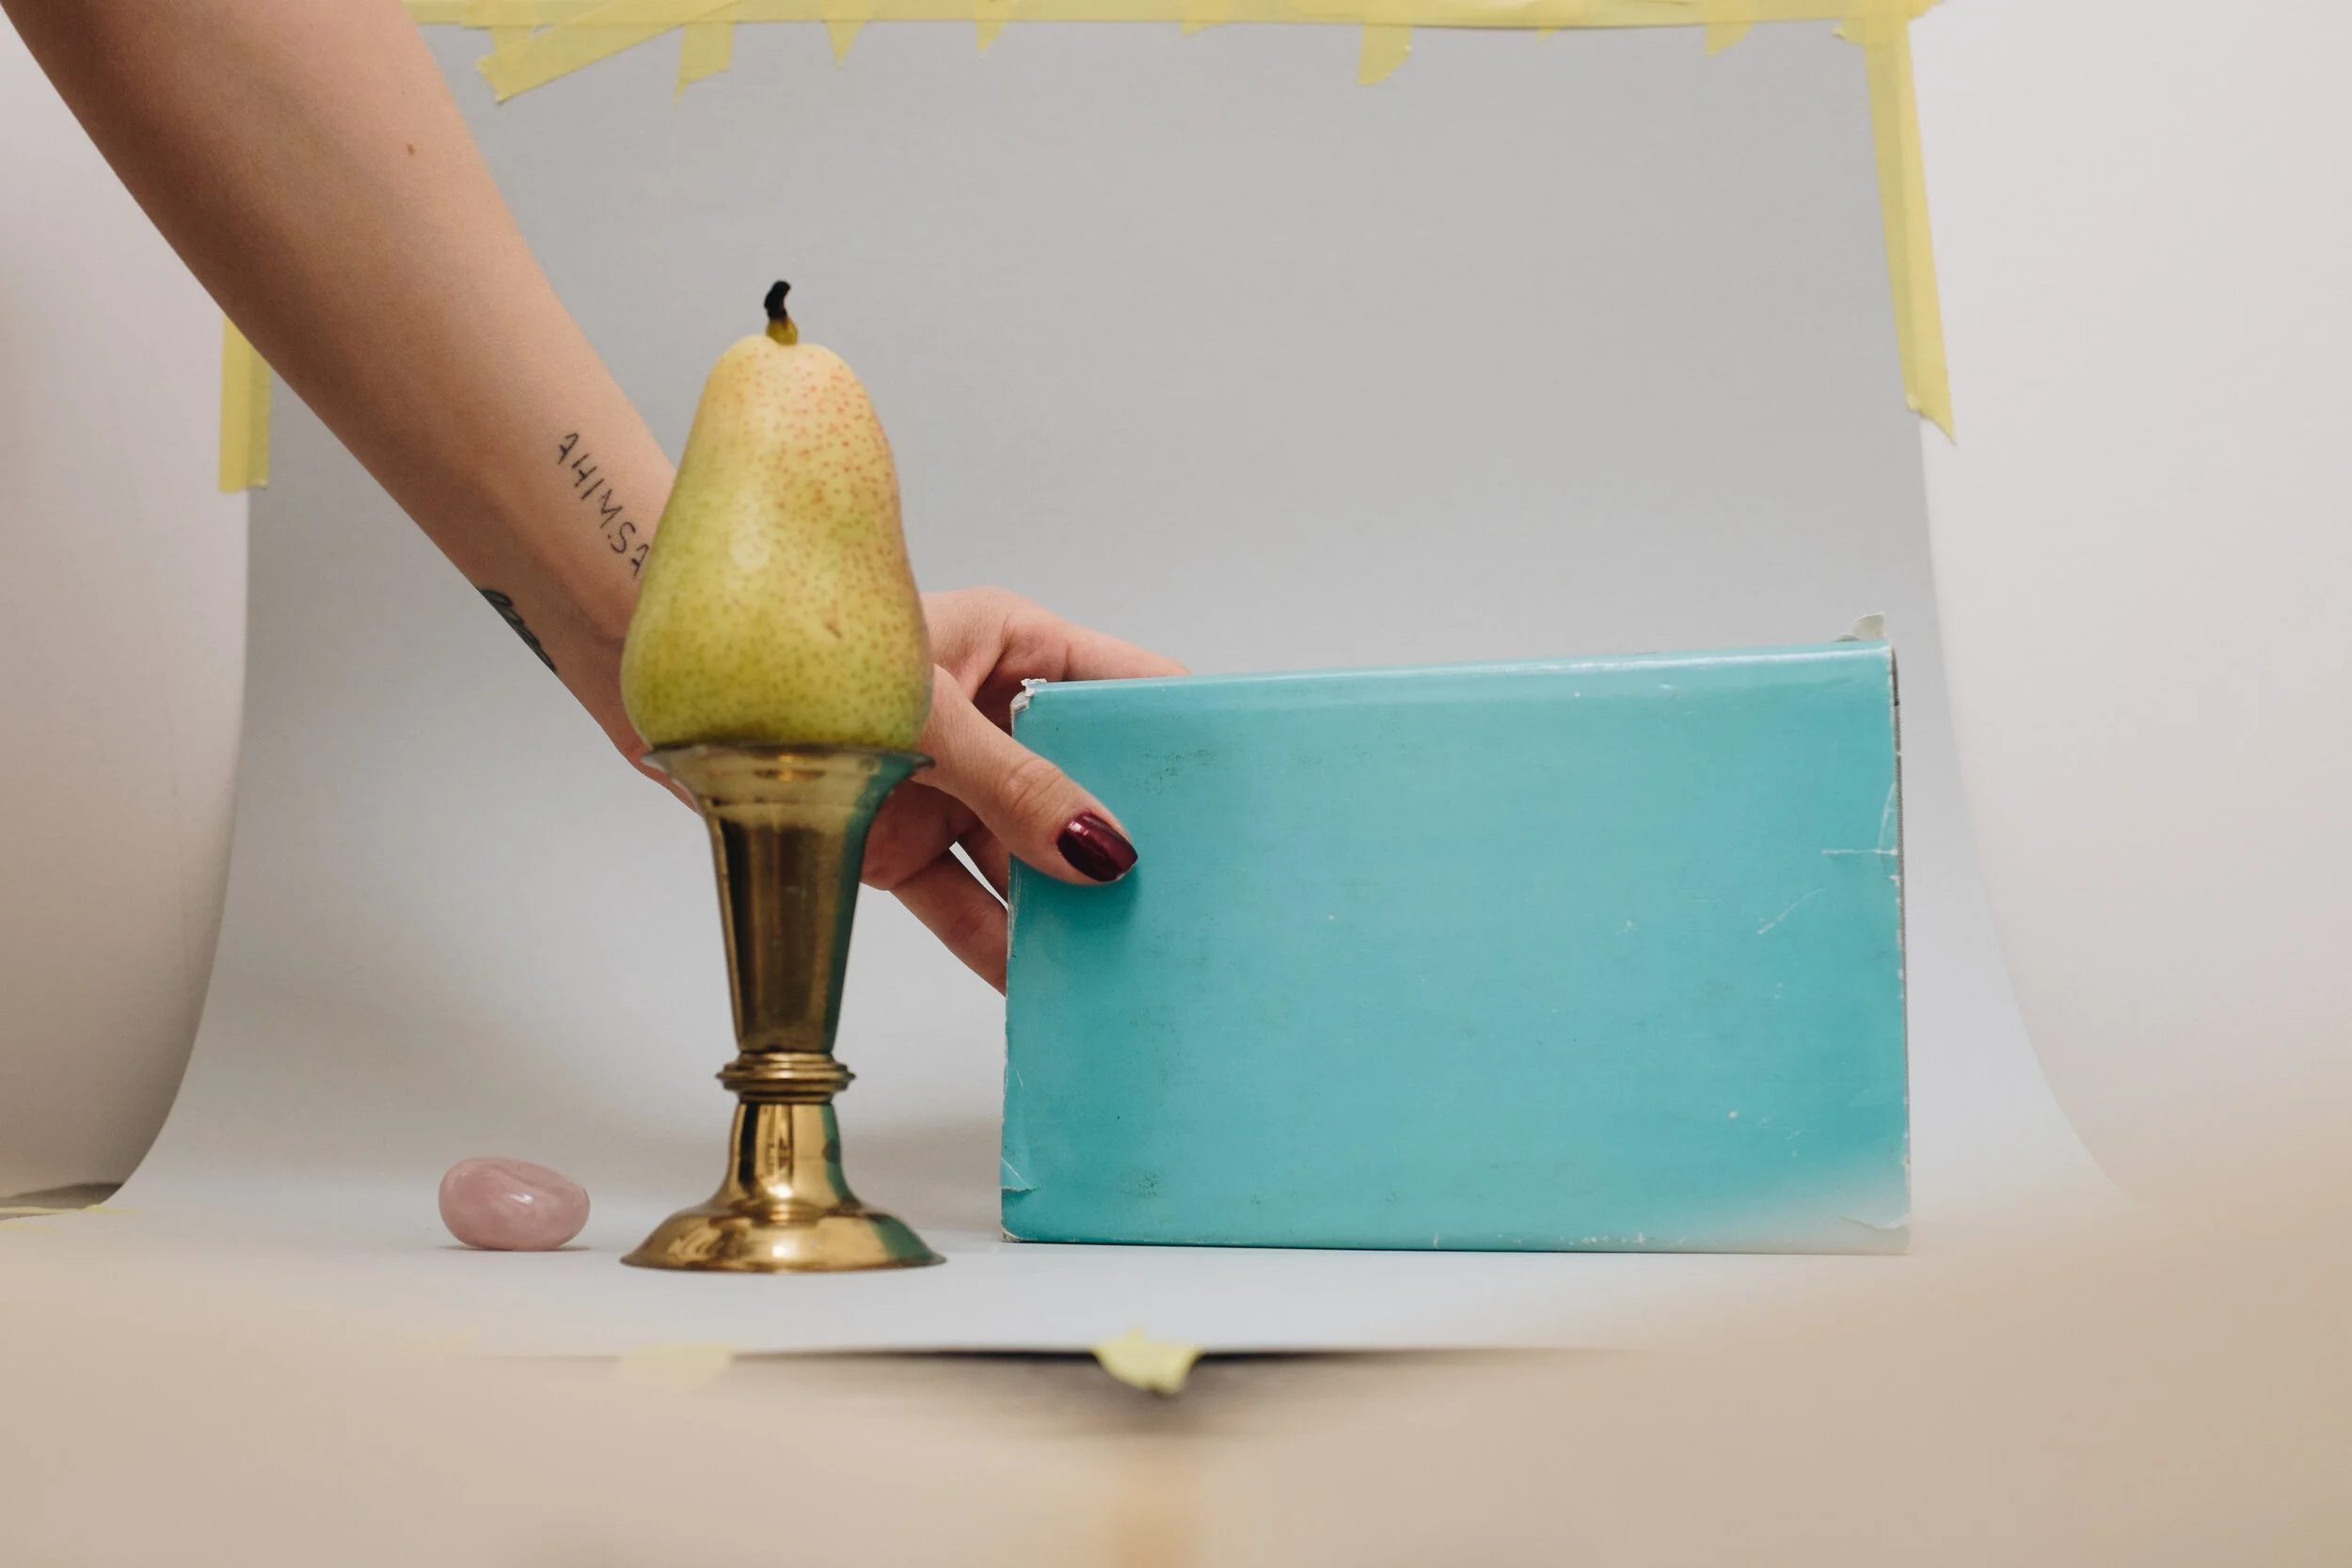
Which lenses should you use: when composing, try different insertions between objects, framing angles and try to shoot with different lenses. I always use lenses that are equal or higher than 50mm - this time I also used a 85mm. It is easier to frame without the background appearing and you can capture the objects closer. A close-up lens it's also perfect to get perfect details of your object or product.
Testing, testing, testing. Photo taken with a 24mm - a wide-angle lens. Note how the door behind my set also appears - this lens provides a wider field of vision.
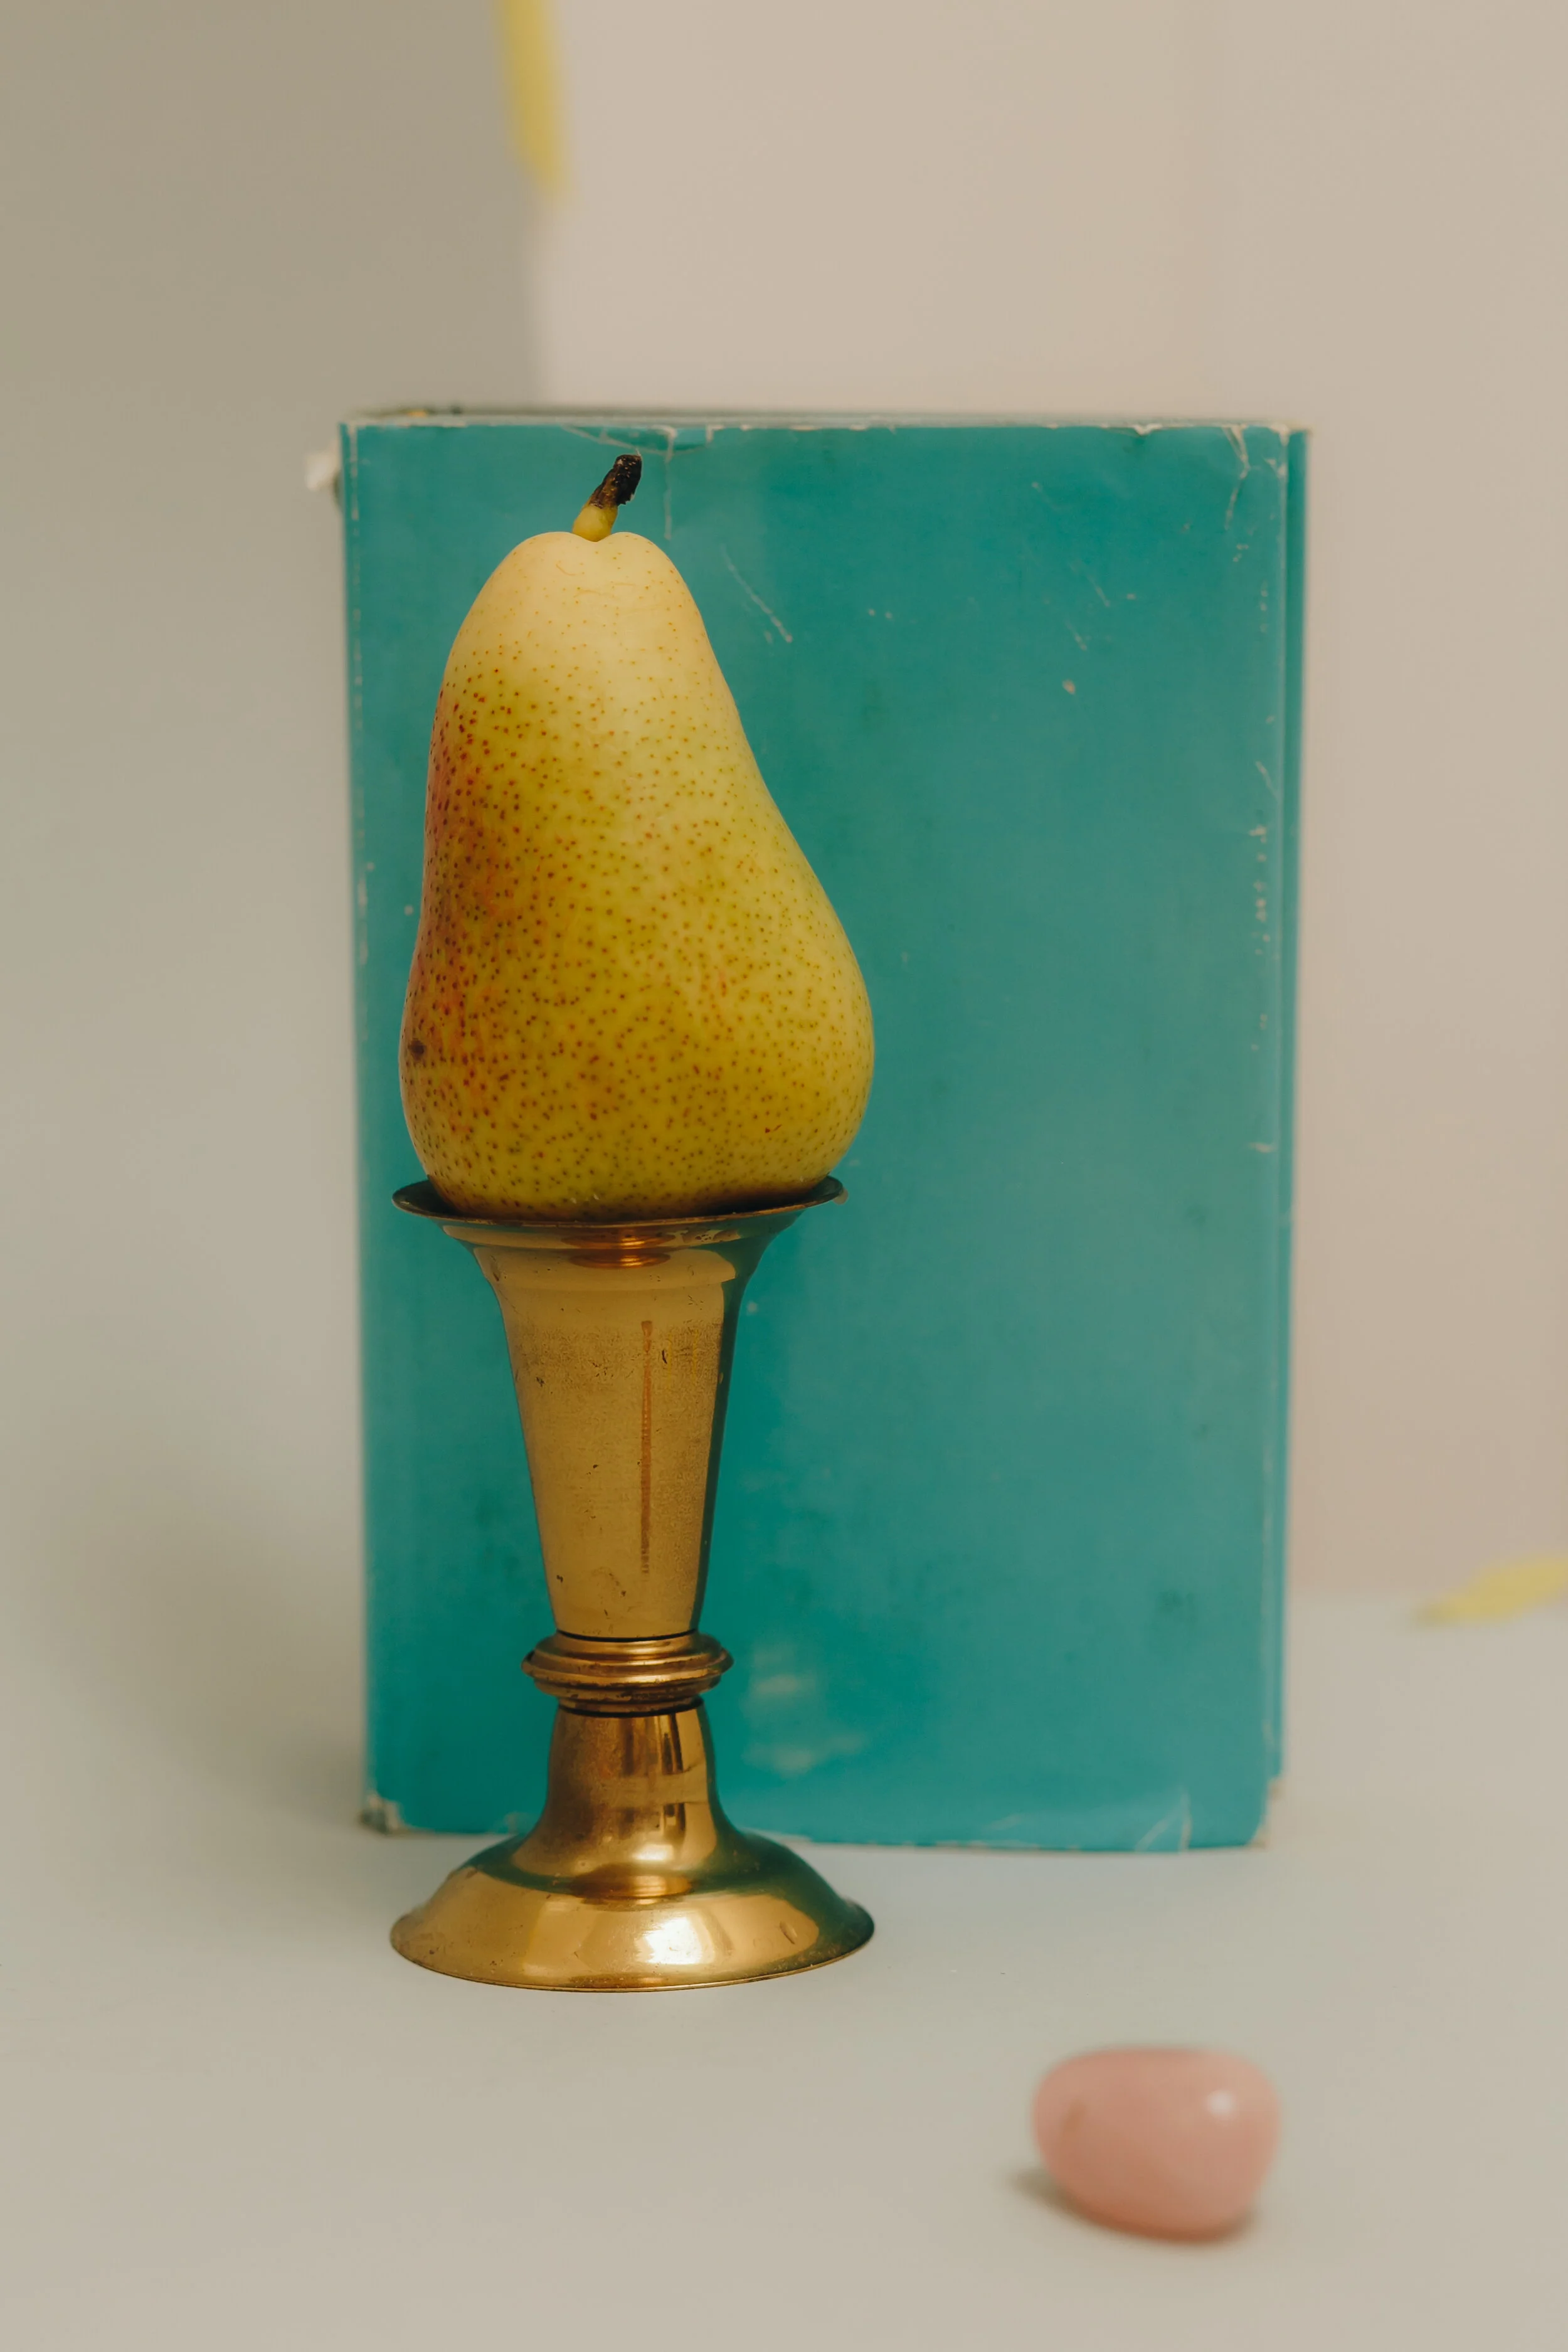
I shot this pictures above with a 85mm. See the diference? If you want to photograph with your phone and it has more than one lens, try to use the most closed lens, the one that is closest to the object. But for that remember that you need to have a lot of light, otherwise some noise will appear and you will lose quality in your image.
How to set up your camera: if you have a camera that allows you to shoot in manual, it's a perfect opportunity to try some combinations. In still photography you can play with the focus, shutter speed, aperture options that can change how many objects are focused. For example, if I have more than 3 objects, a bit apart from each other, I use at least f/10 to get everything in focus. With shutter speed you can also try some low-speed shots to make a blurred movement. But with you want to freeze the object, try to use at least 1/100 (if you have your camera in your hand). With a tripod, you can use low speed. The ISO value will depend in how much light you have available, but the lowest, better. Some pics in this post I shot using f/10 (aperture), 1/100 (shutter speed) and ISO 640. In your mobile, make sure to use the exposure balanced. Sometimes you have to turn it a bit down, so your picture it's not overexposed.
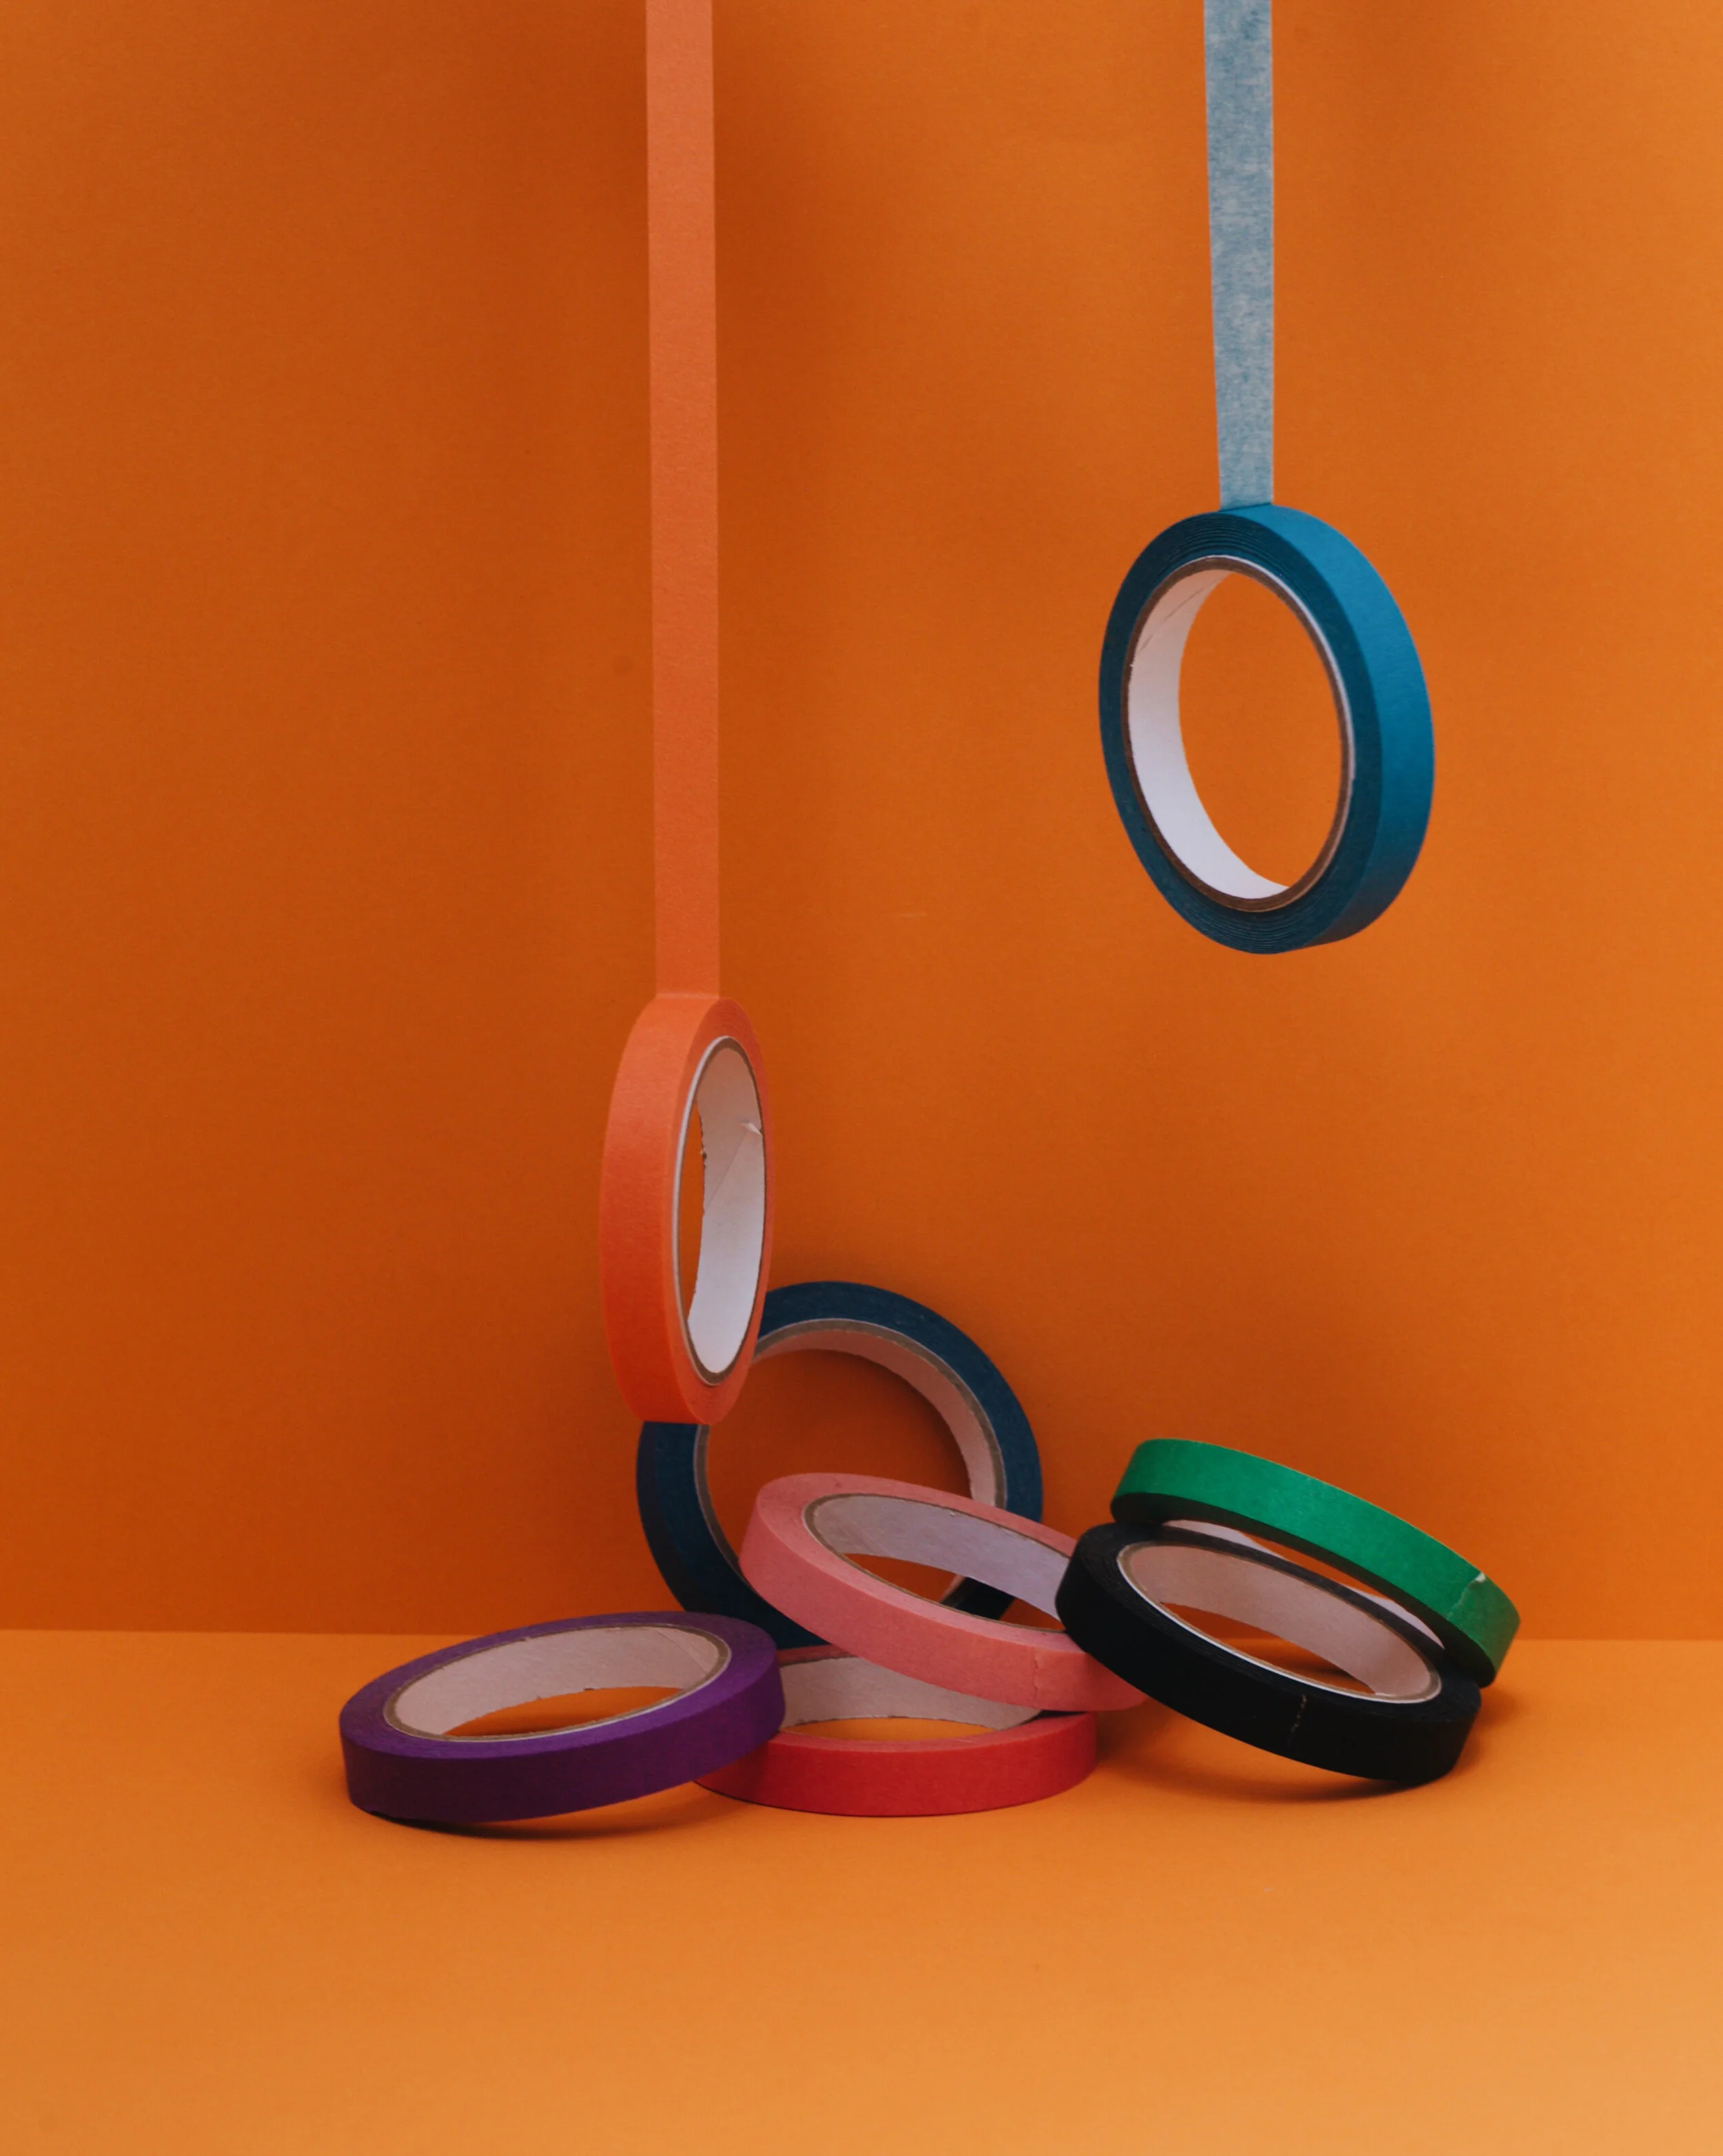
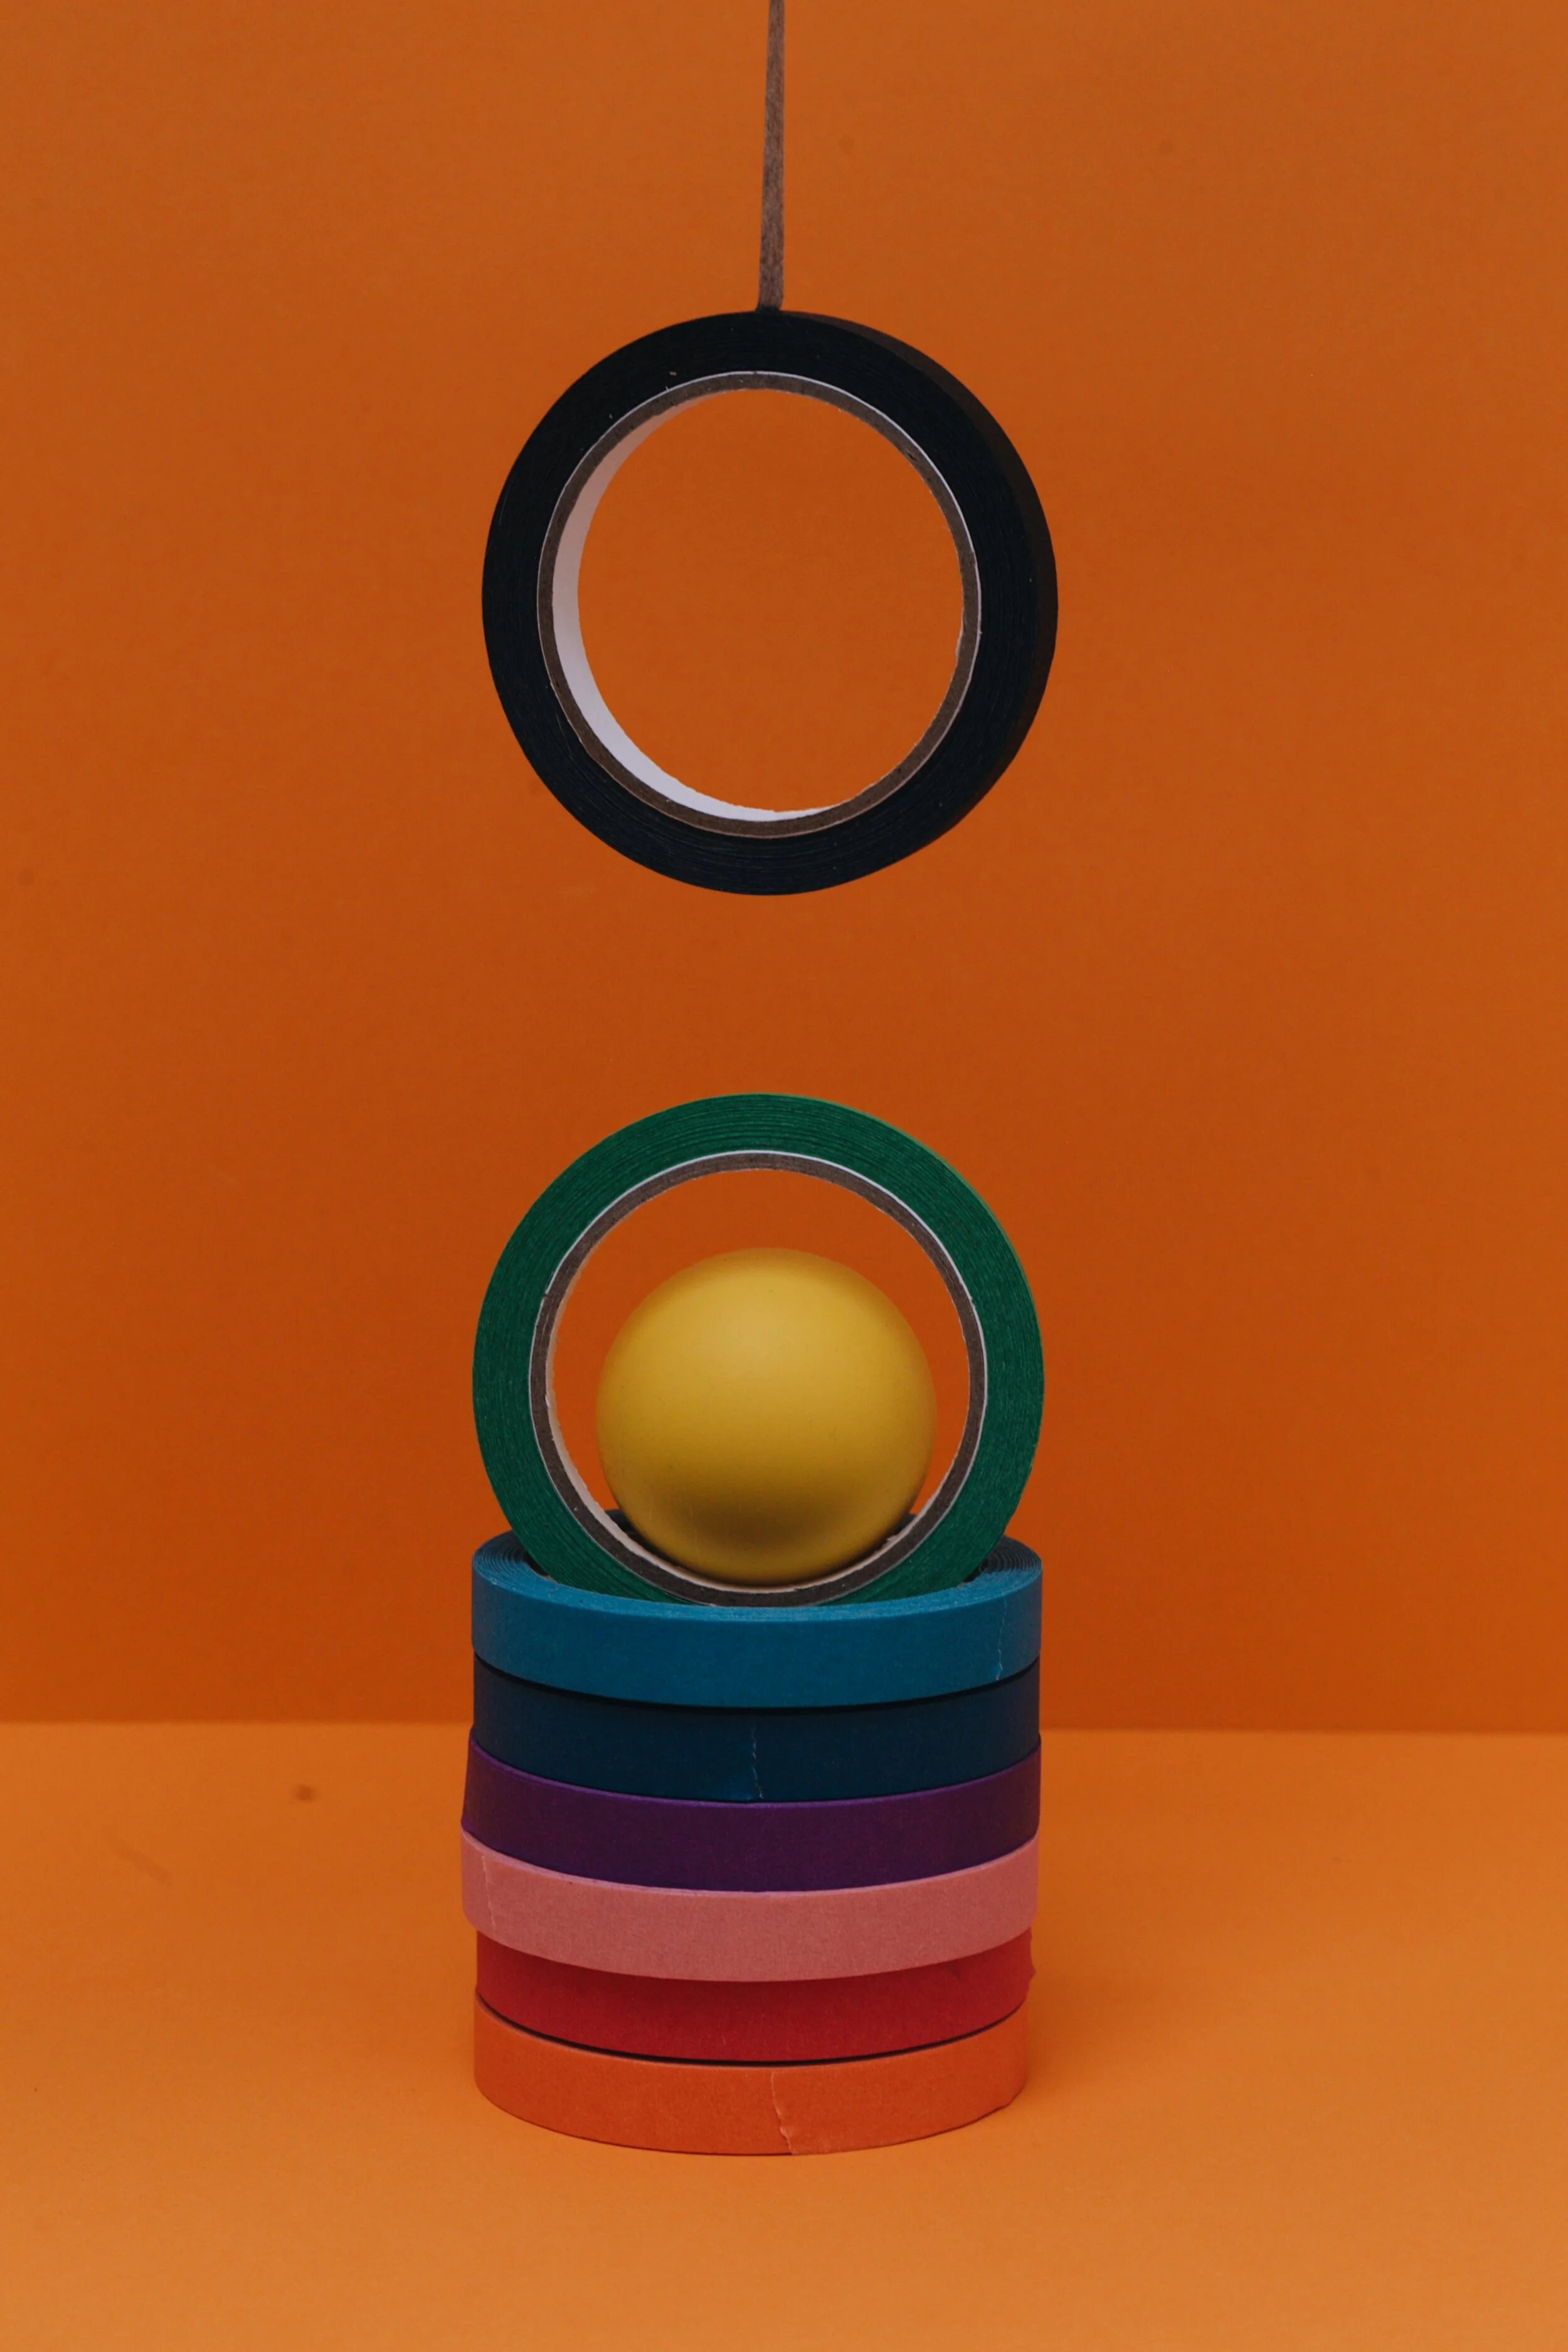
You can also add action and motion to your objects. To take this picture, my boyfriend was throwing the tapes over the top and I used the burst mode of my camera, with a high speed shutter. After a few attempts it works!
What's next
I personally believe that post production is important to help you give an extra highlight to your picture. So I usually use Adobe Lightroom and Photoshop to retouch and most of the time I have the same edition process. First of all, I select the pictures I want to retouch (we can't waste time right). I look at all images in Lightroom and flag the ones I liked. In sequence, I make another selection, with the photos I really love. I combine 3-6 pictures and check how they look together. In this selection process, I try to "save" some photos that didn't look good the way I shot. I make some editing tests, changing the cut, perspective, color. In your mobile you can also make that selection procedure, by adding them in a new album in your phone or by flagging the pics as favorites. You can retouch in apps like Lightroom, Afterlight, VSCO Cam.
Retouch tips to save a “bad” picture
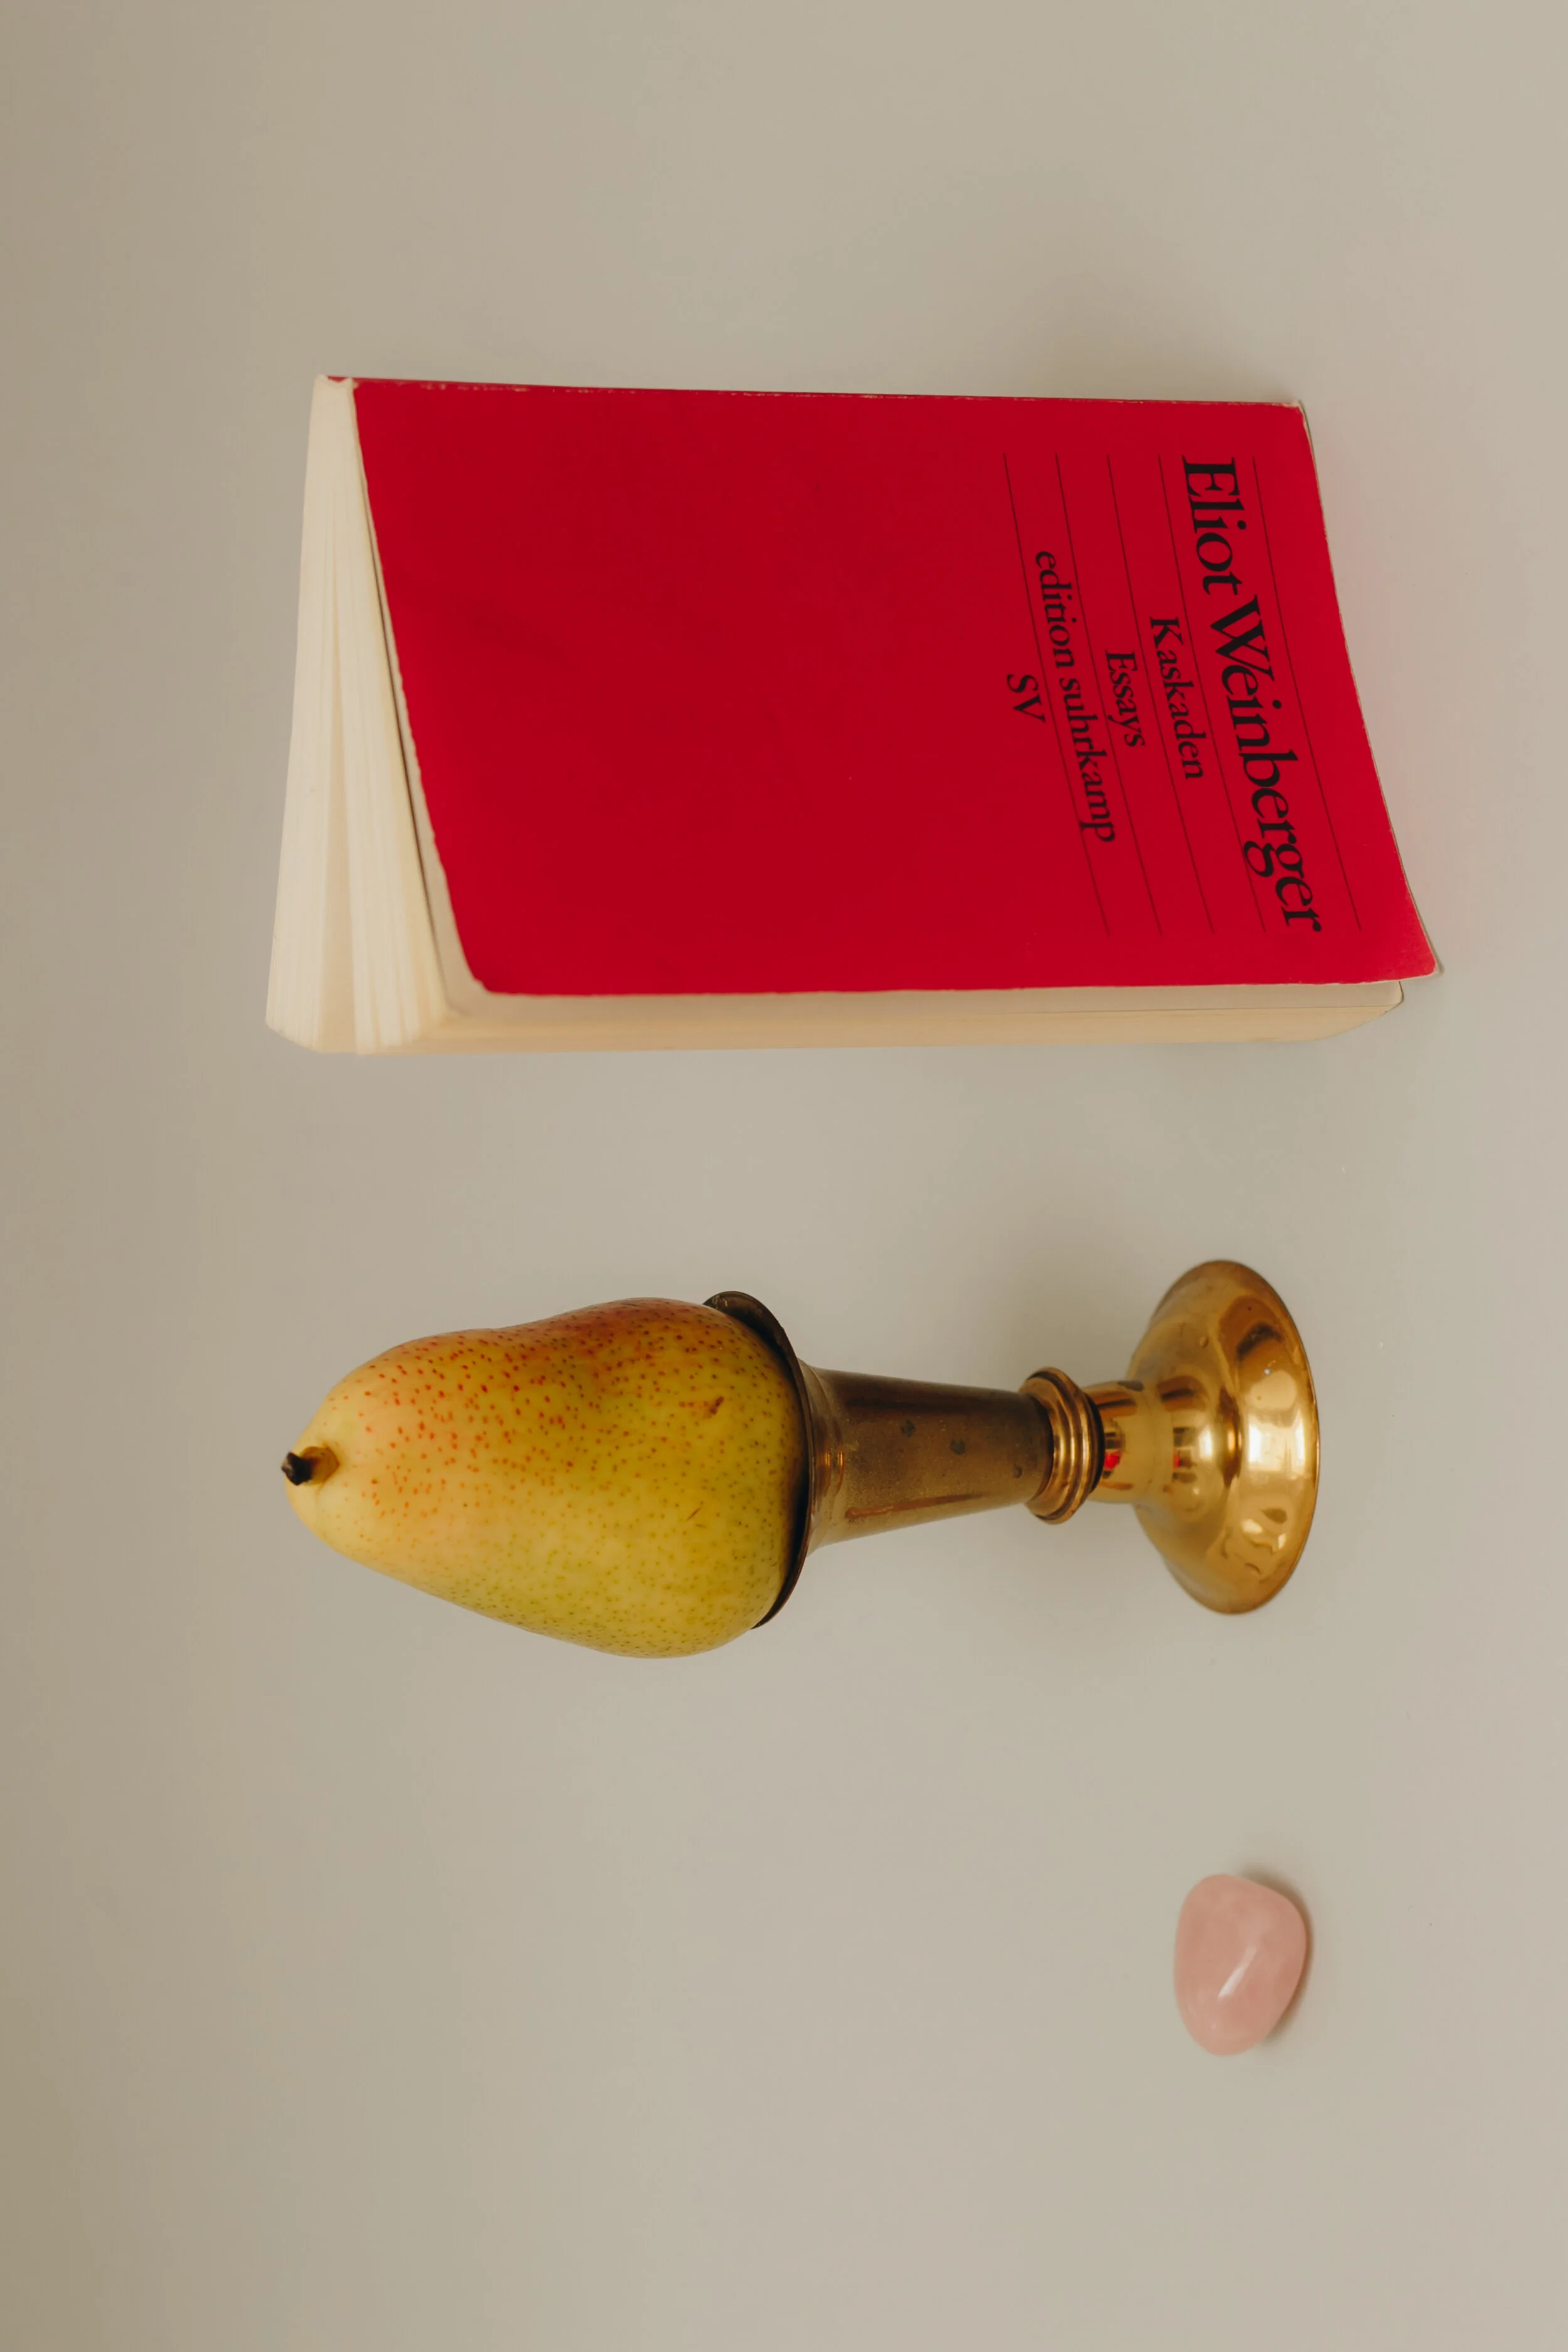
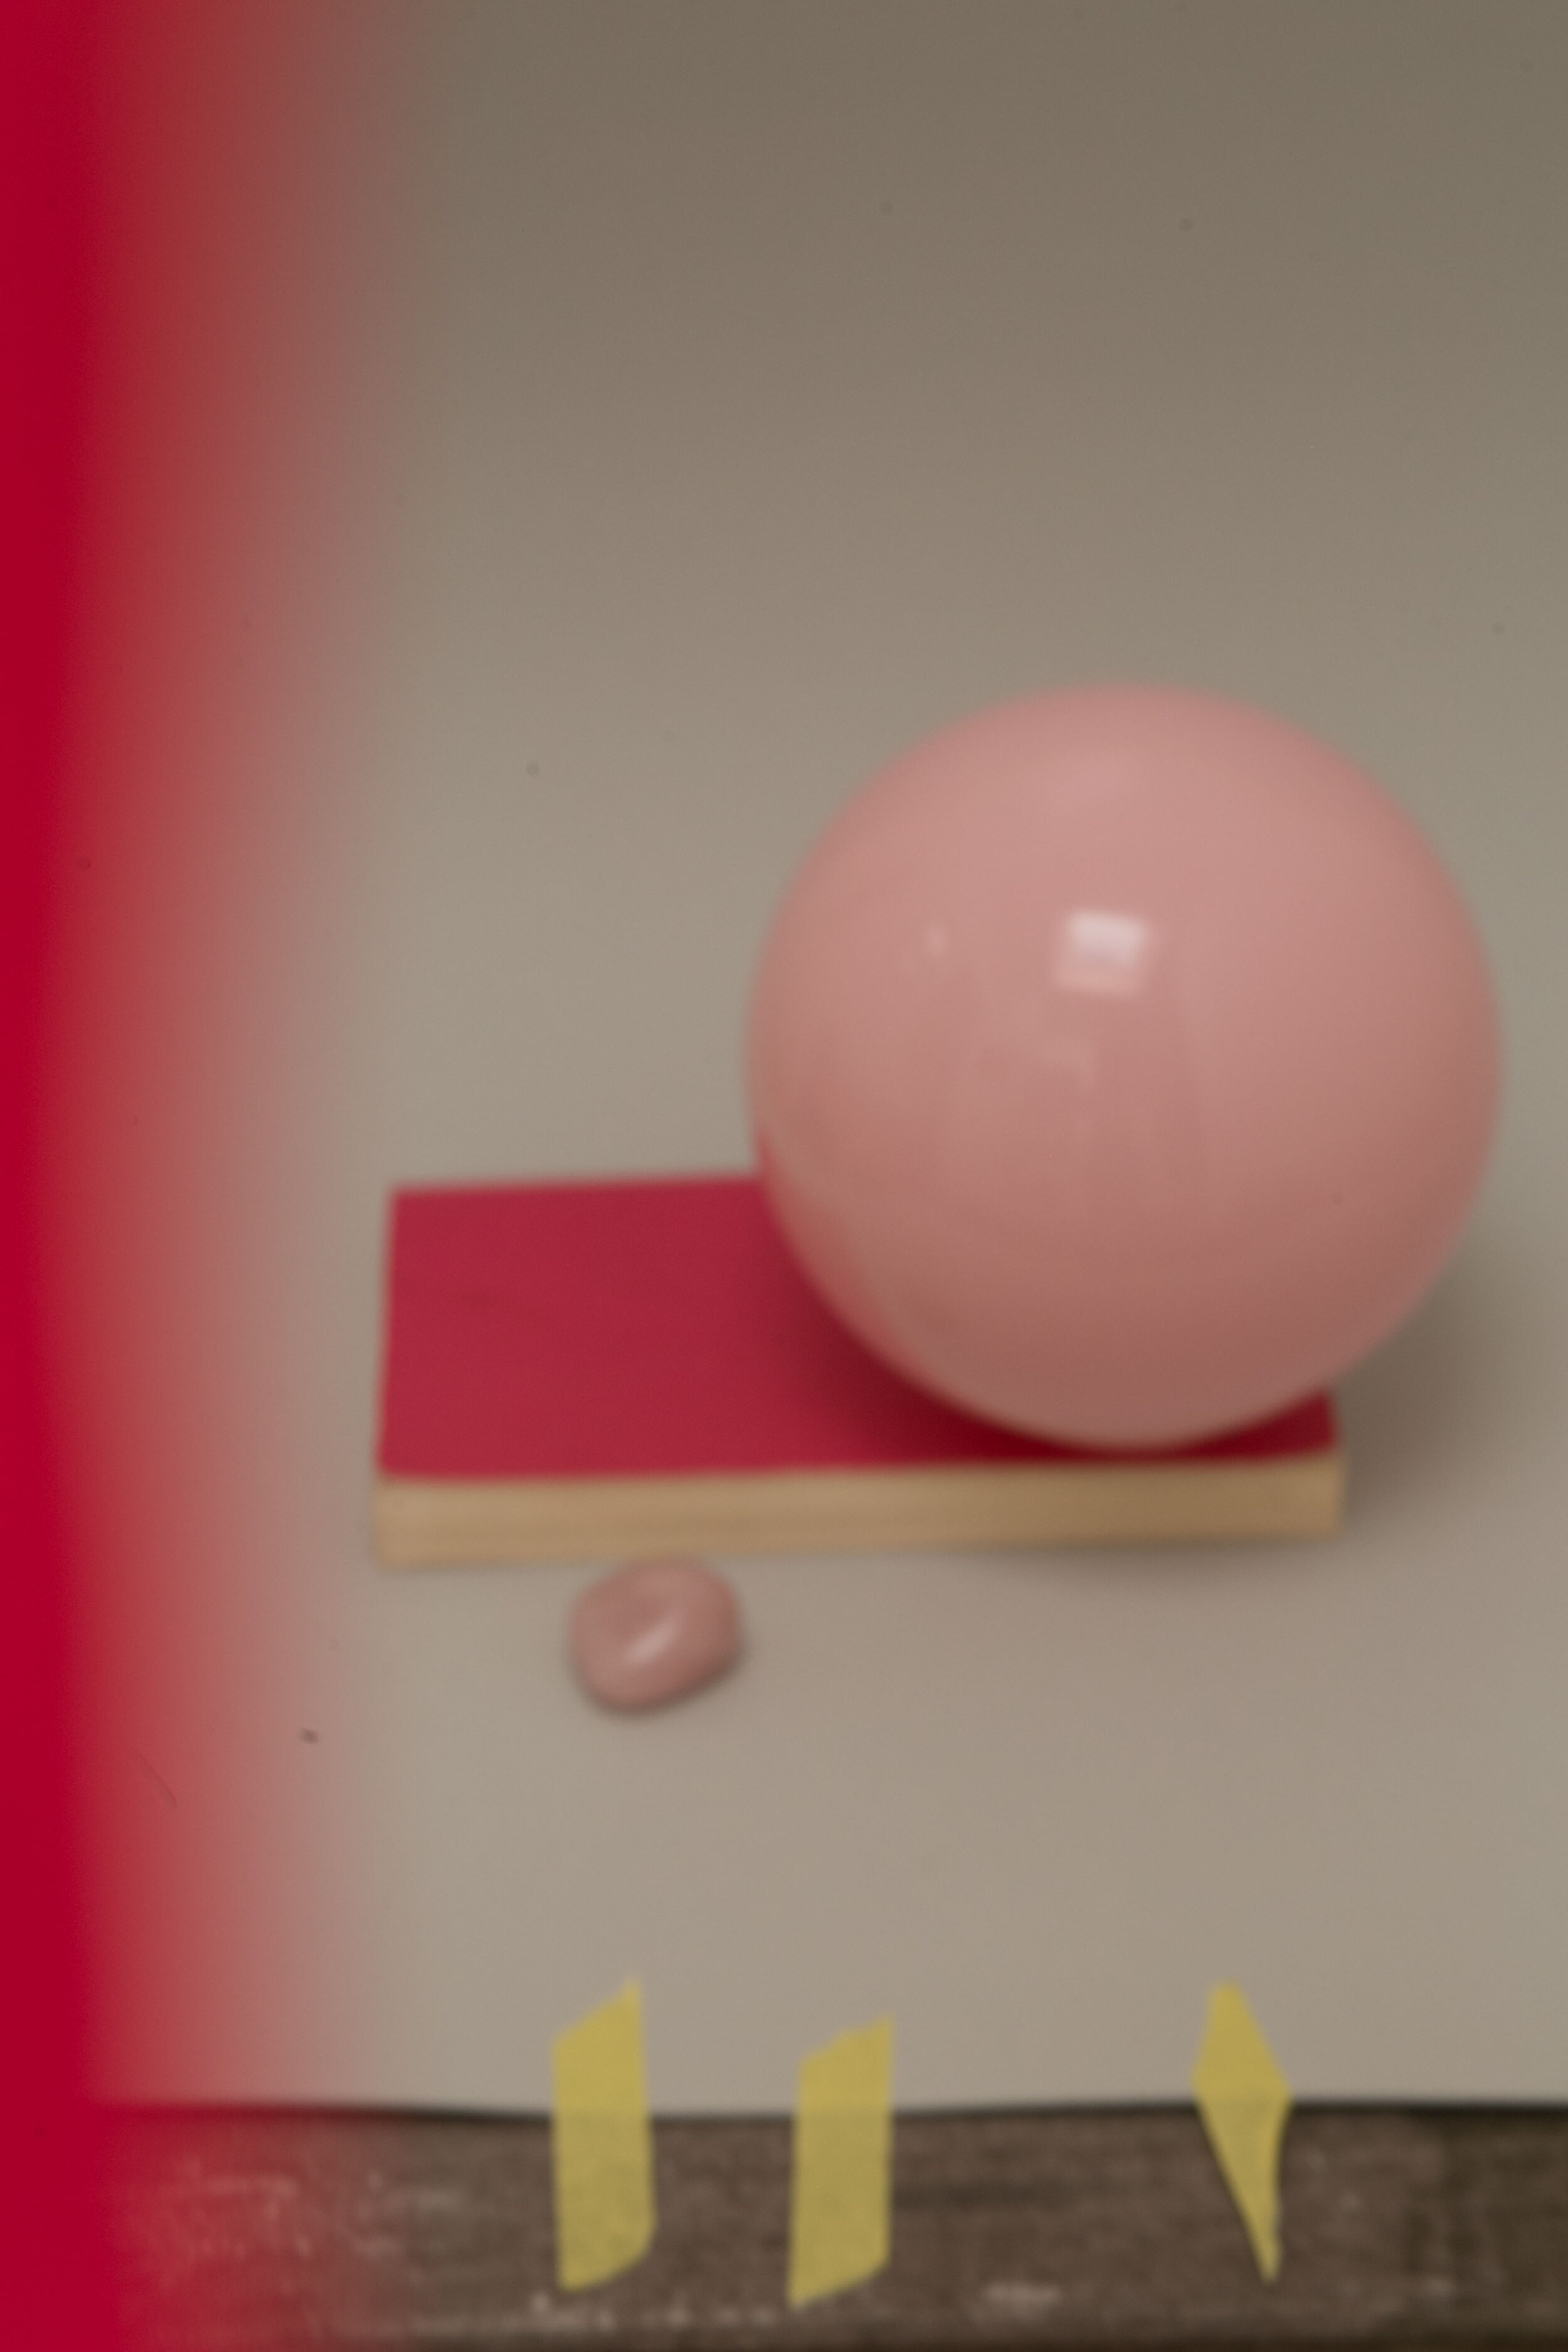
Try some new cuts: sometimes you can save one image just by making a good cut. For that, I think about the geometry and also some rules of composition. As everything I do in the photography process: test. Turn the picture in all ways, try a possibility of cuts and find the one you like the most. Check the new cut that I made on this picture. Here you also can see the before and after of my retouch:
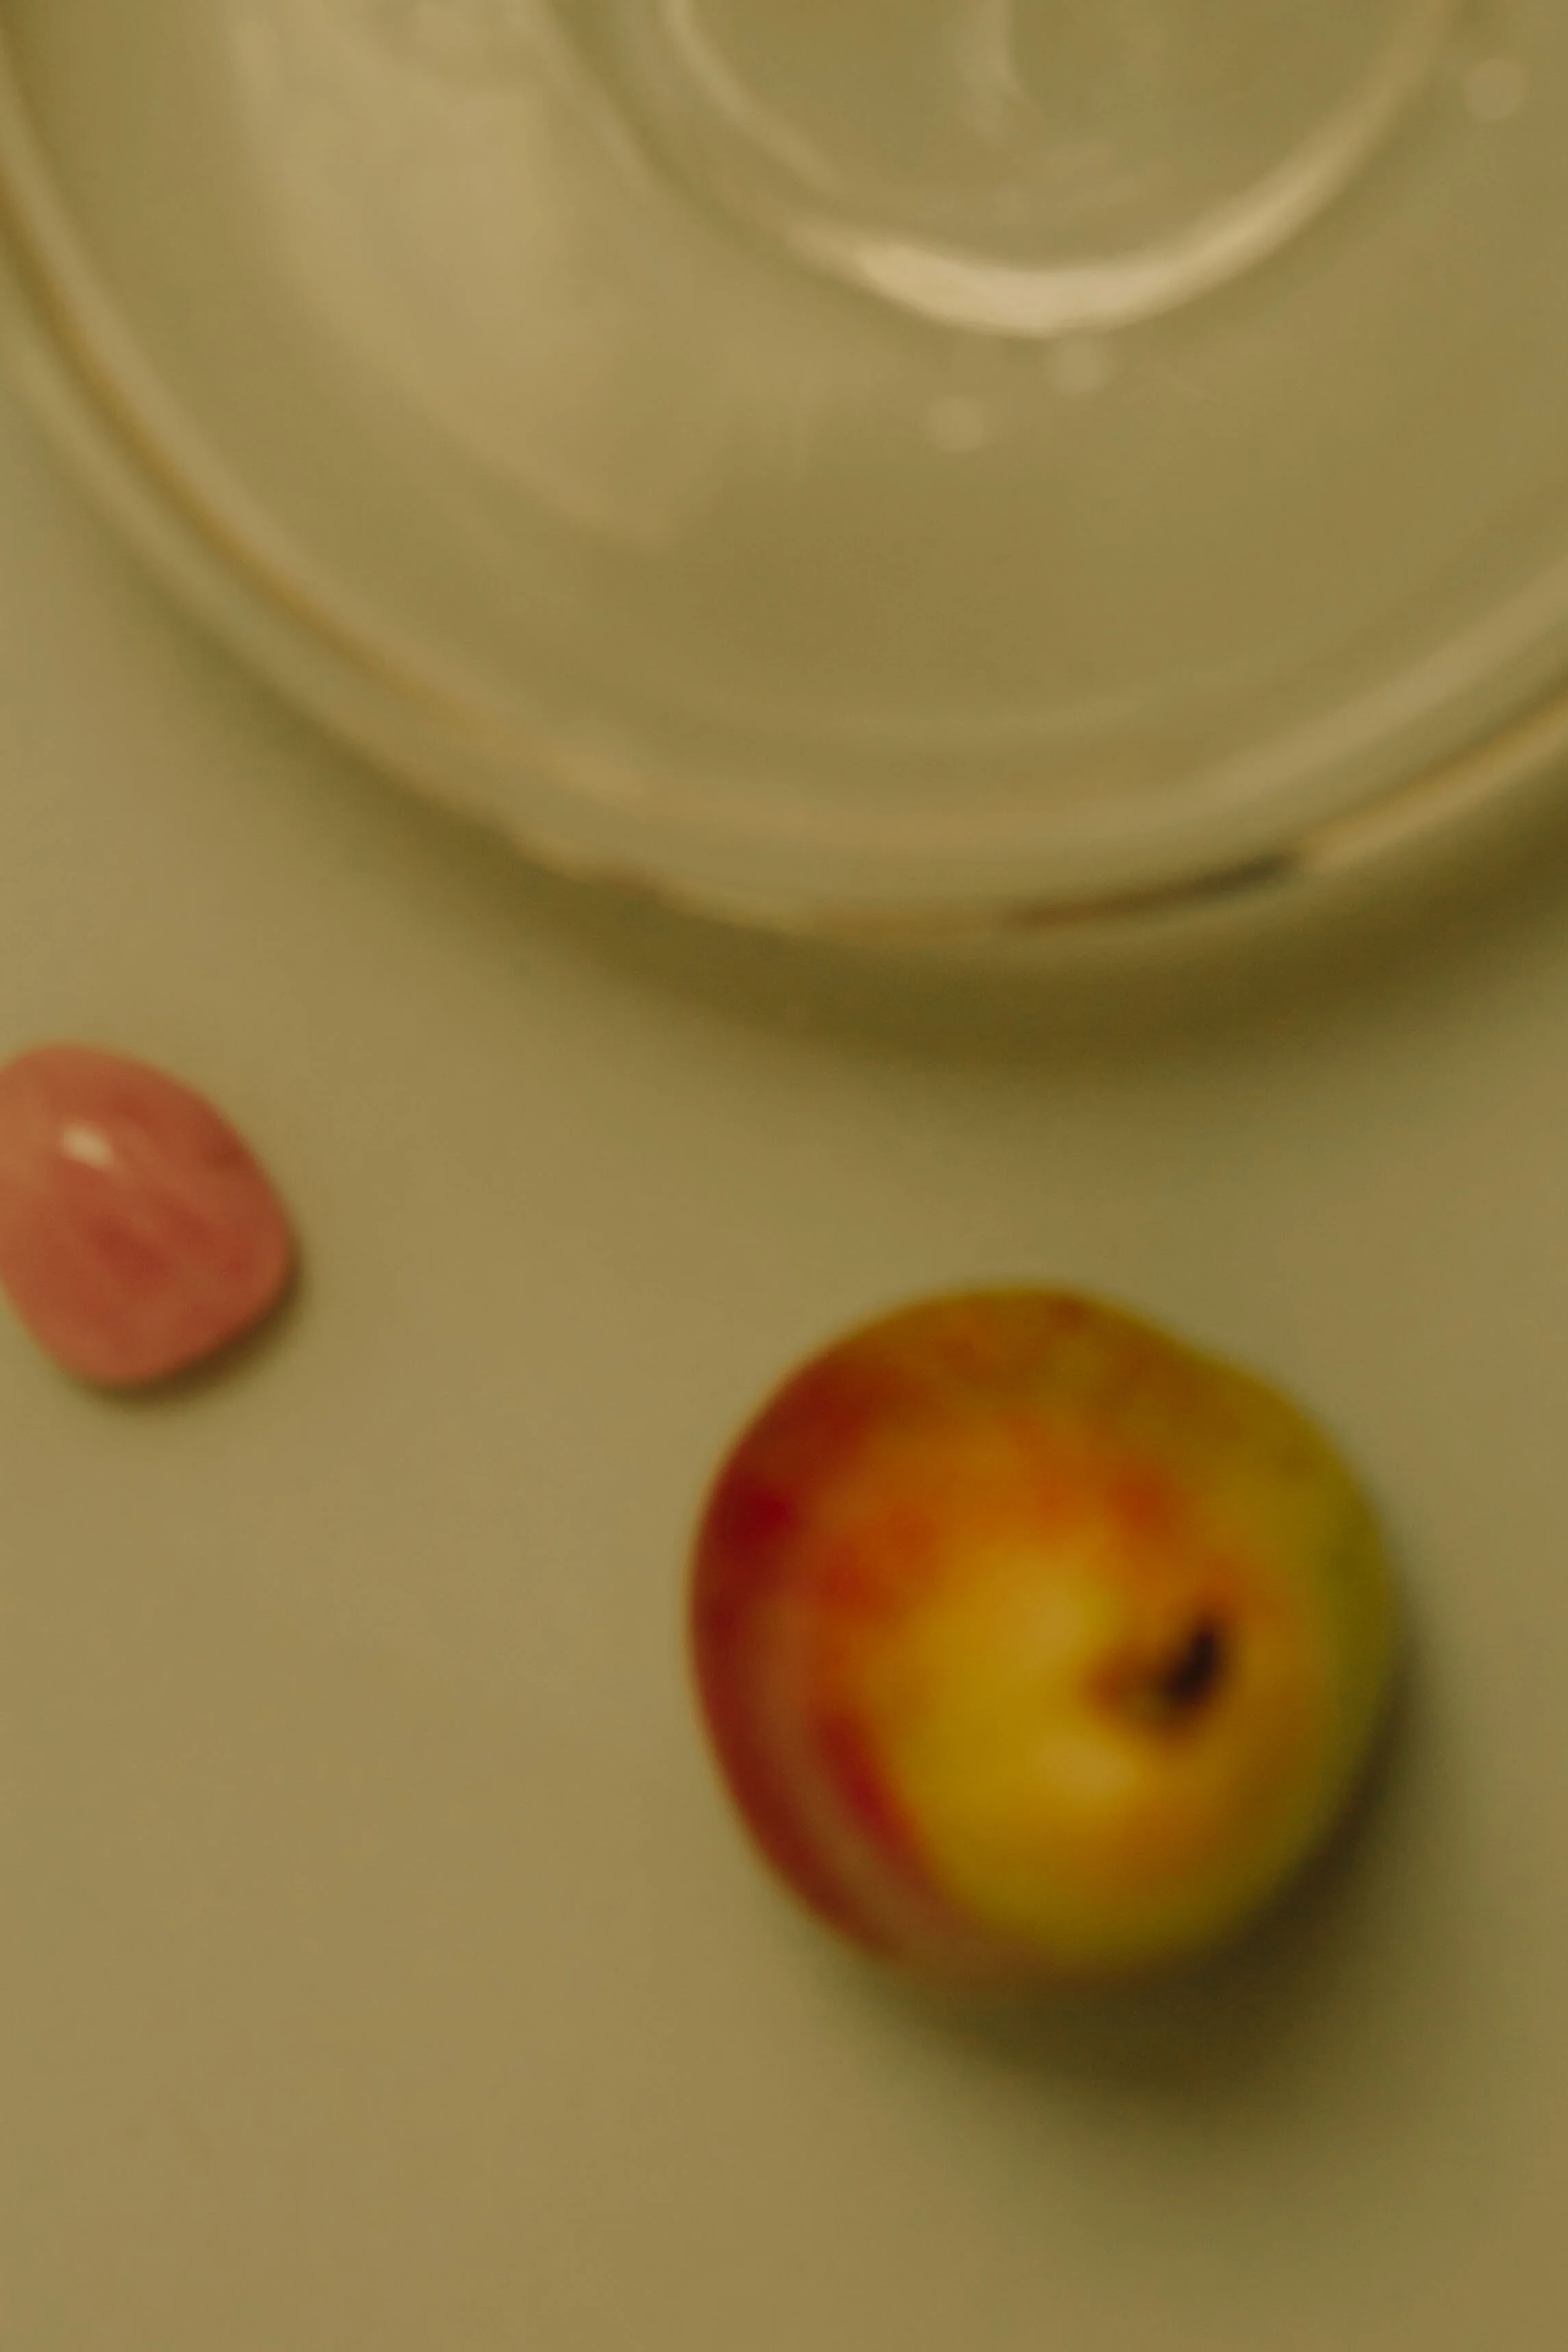
Unfocused pictures: not a problem! Yes, you can transform an unfocused picture in something useful. I made a new cut and made a more abstract photograph. Why not? But be careful: don't use too many unfocused pictures if you want to sell your product, its details need to appear.
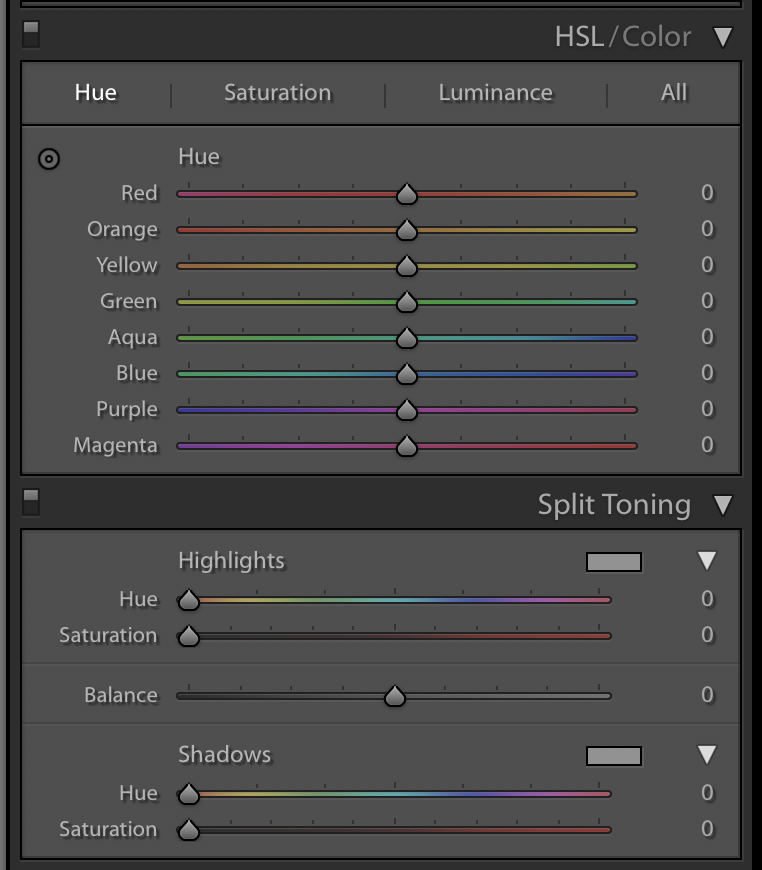
Play with the colors: you can't image how much you can play with the colors in image retouch. Since I was using a grey background, I could easily change my background color. I did that by changing the split tone, where you can choose a new color for your highlights and shadow tones. You can also change all colors, selecting one at a time, and modify its hue, saturation and luminance. Also a nice touch: increase saturation in the object that you want to highlight. Use these tools in Lightroom to get the most of your tones:
Basic colors tools. You will also find it in mobile apps I have mentioned.
Make the objects shine: another thing I do sometimes, it's to highlight a part of your object. Something that in the shot appeared a bit darker. You can do that in Lightroom or Photoshop by making a mask and raising the brightness. Invert the mask and select the area that needs highlight. The sharp tool it's used to add a bit more of definition to the objects that are not extremely focused.
Noise reduction: that is a nice tool to use if you shot with a high ISO, that creates a grainy texture. You can disguise that by using the noise reduction tool, but don't put it extremely high. It will create a blur effect that can be a little “fake”.
Always take a look of how your images look together. They must be with the same retouch, lightning and colors (or different ones that makes sense together). Sometimes that's hard, you need to train your eye to recognize what you have to change, but the most you practice, the more you get better.

I hope you liked the tips and don't hesitate to ask me anything! I am curious to know which one you like the most, so comment here :)
If you are spending time at home, you enjoy photography and want to test your creativity, go for it! Feel free to show me your results and ask for feedbacks. Always remember that the more you practice photography, the more you learn. It never stops - and that's amazing!
Kisses,
RW
